Adding An ArcGIS Credential
This sample demonstrates how to add an ArcGIS credential to the Credential Manager. The ArcGIS credential is used to access secured ArcGIS services.
Credentials in the Geodesic Platform are used to authenticate users and provide access to datasets on behalf of the user. To add an ArcGIS credential, you will first need to create an OAuth2 Application in your ArcGIS Portal (Enterprise or Online). This will provide you with a client_id and client_secret that are needed to connect to the ArcGIS services.
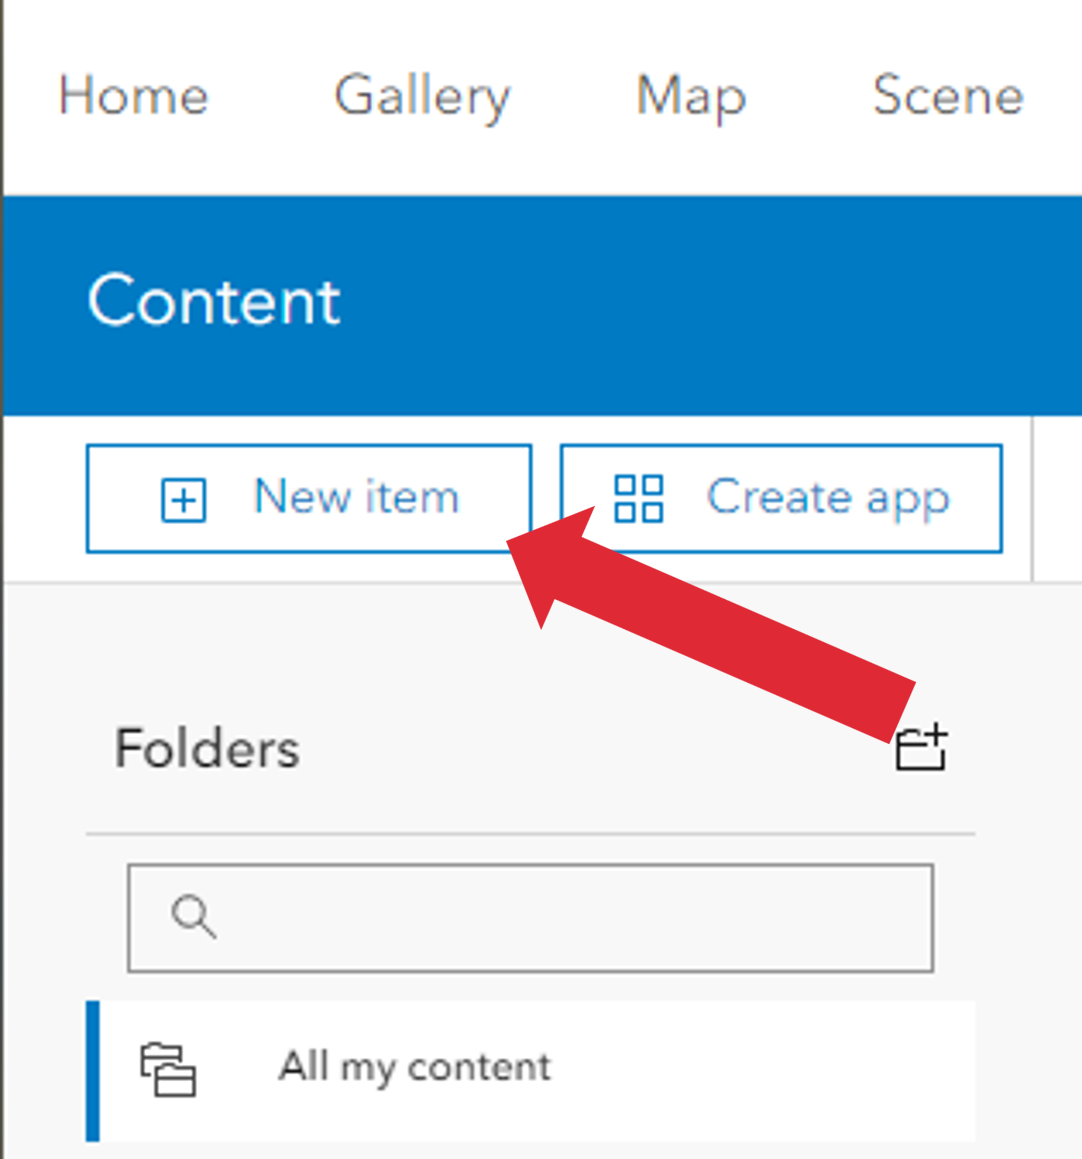
To begin, log into your ArcGIS Portal and navigate to the content tab. In the upper left you should see a button labeled New Item.
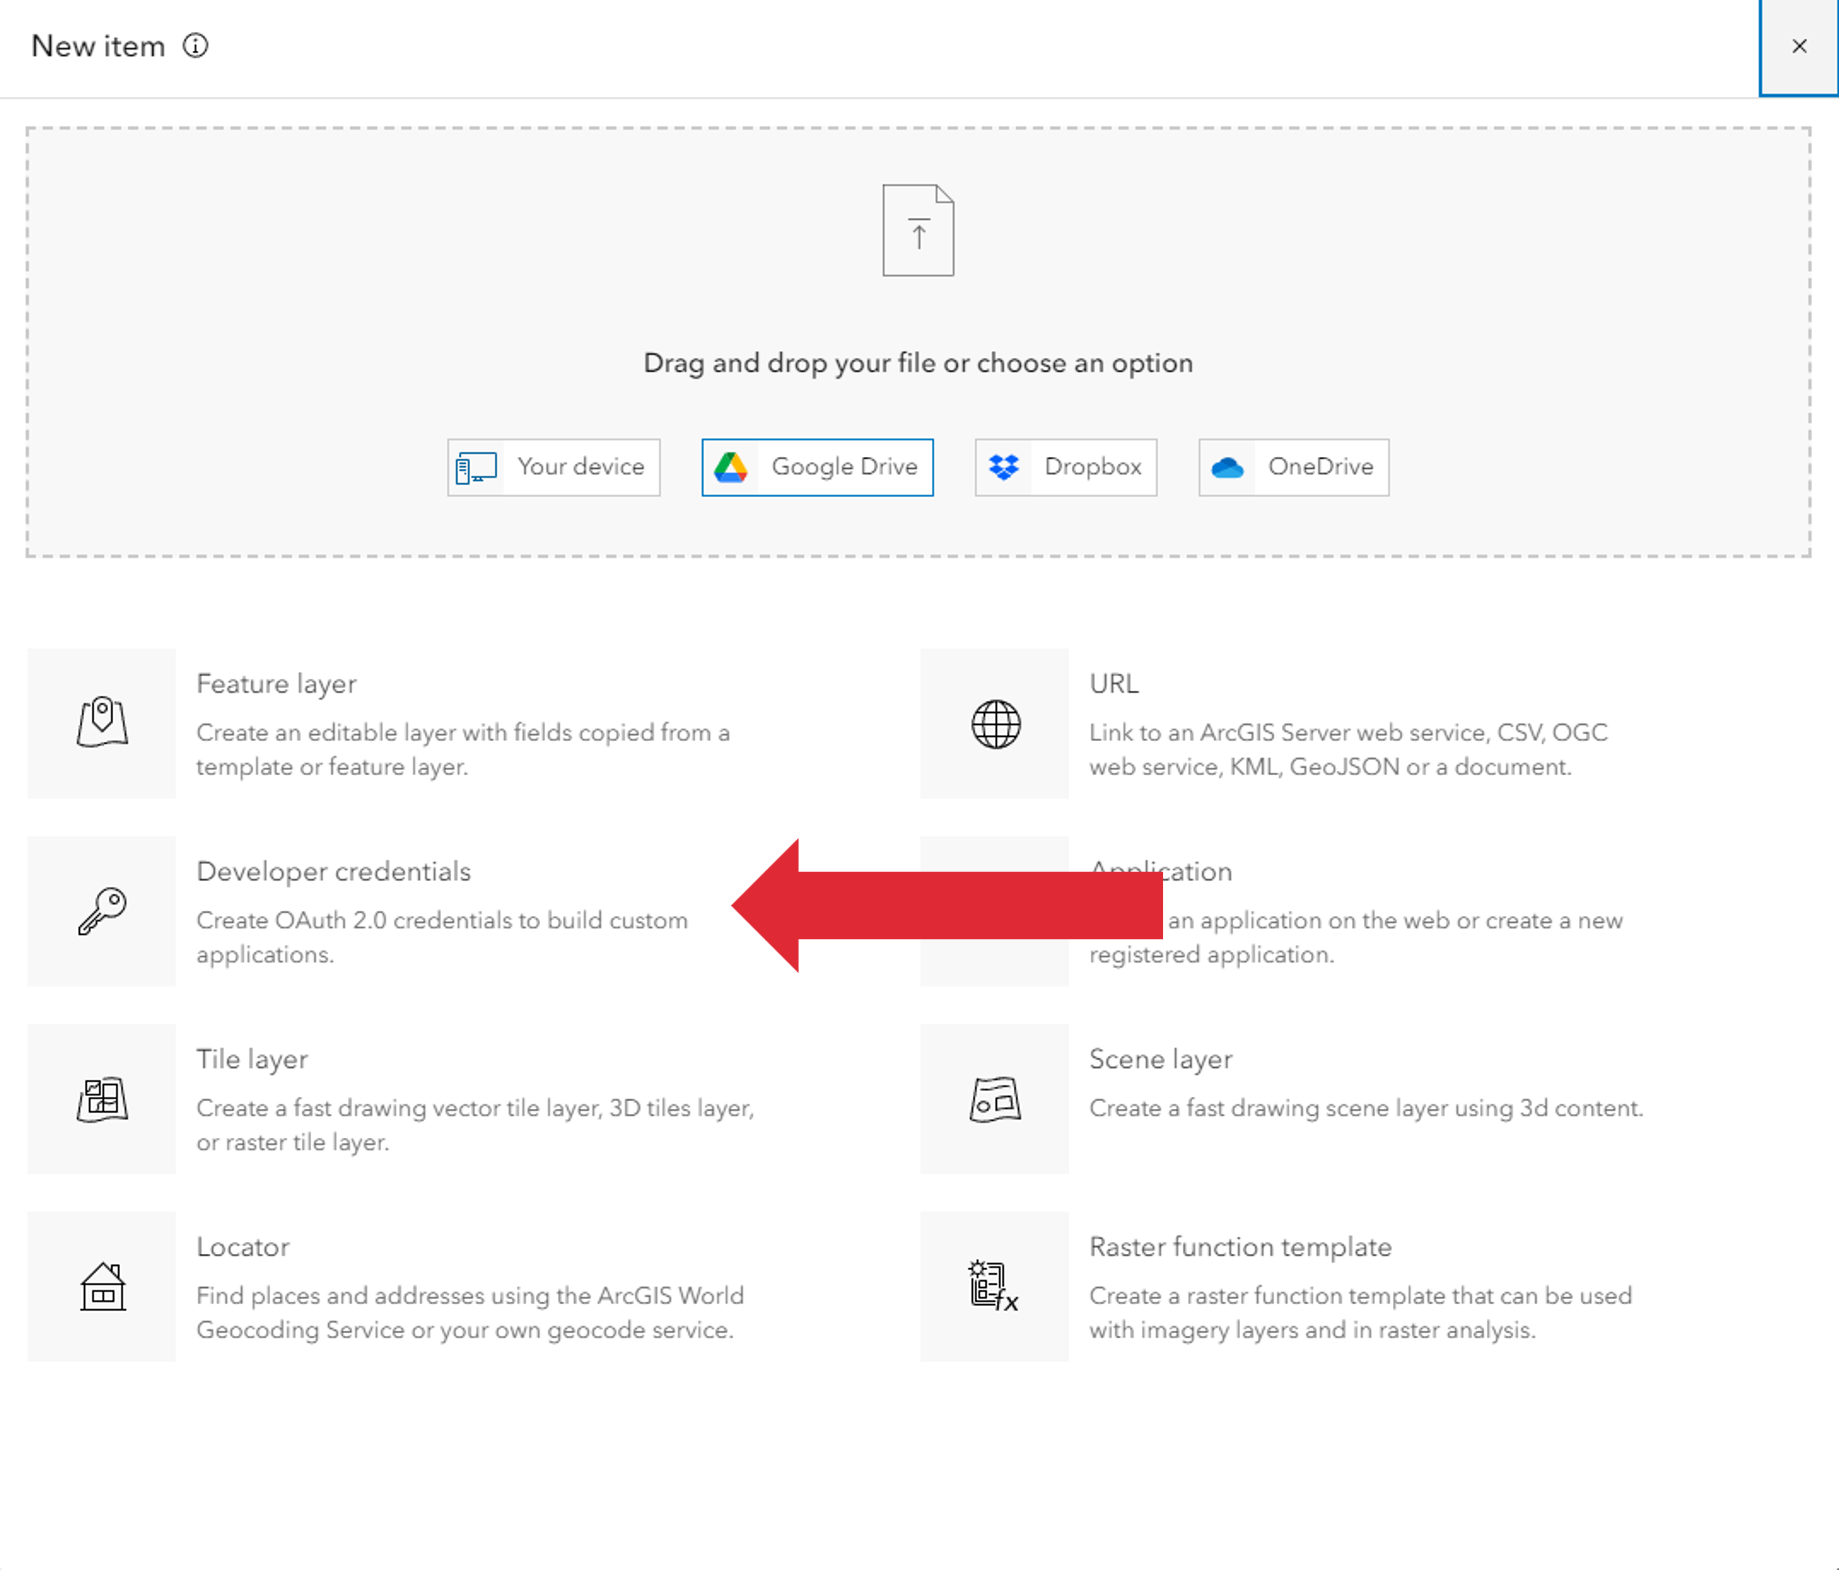
This will bring up the new item dialogue. Select the Developer Credentials option.
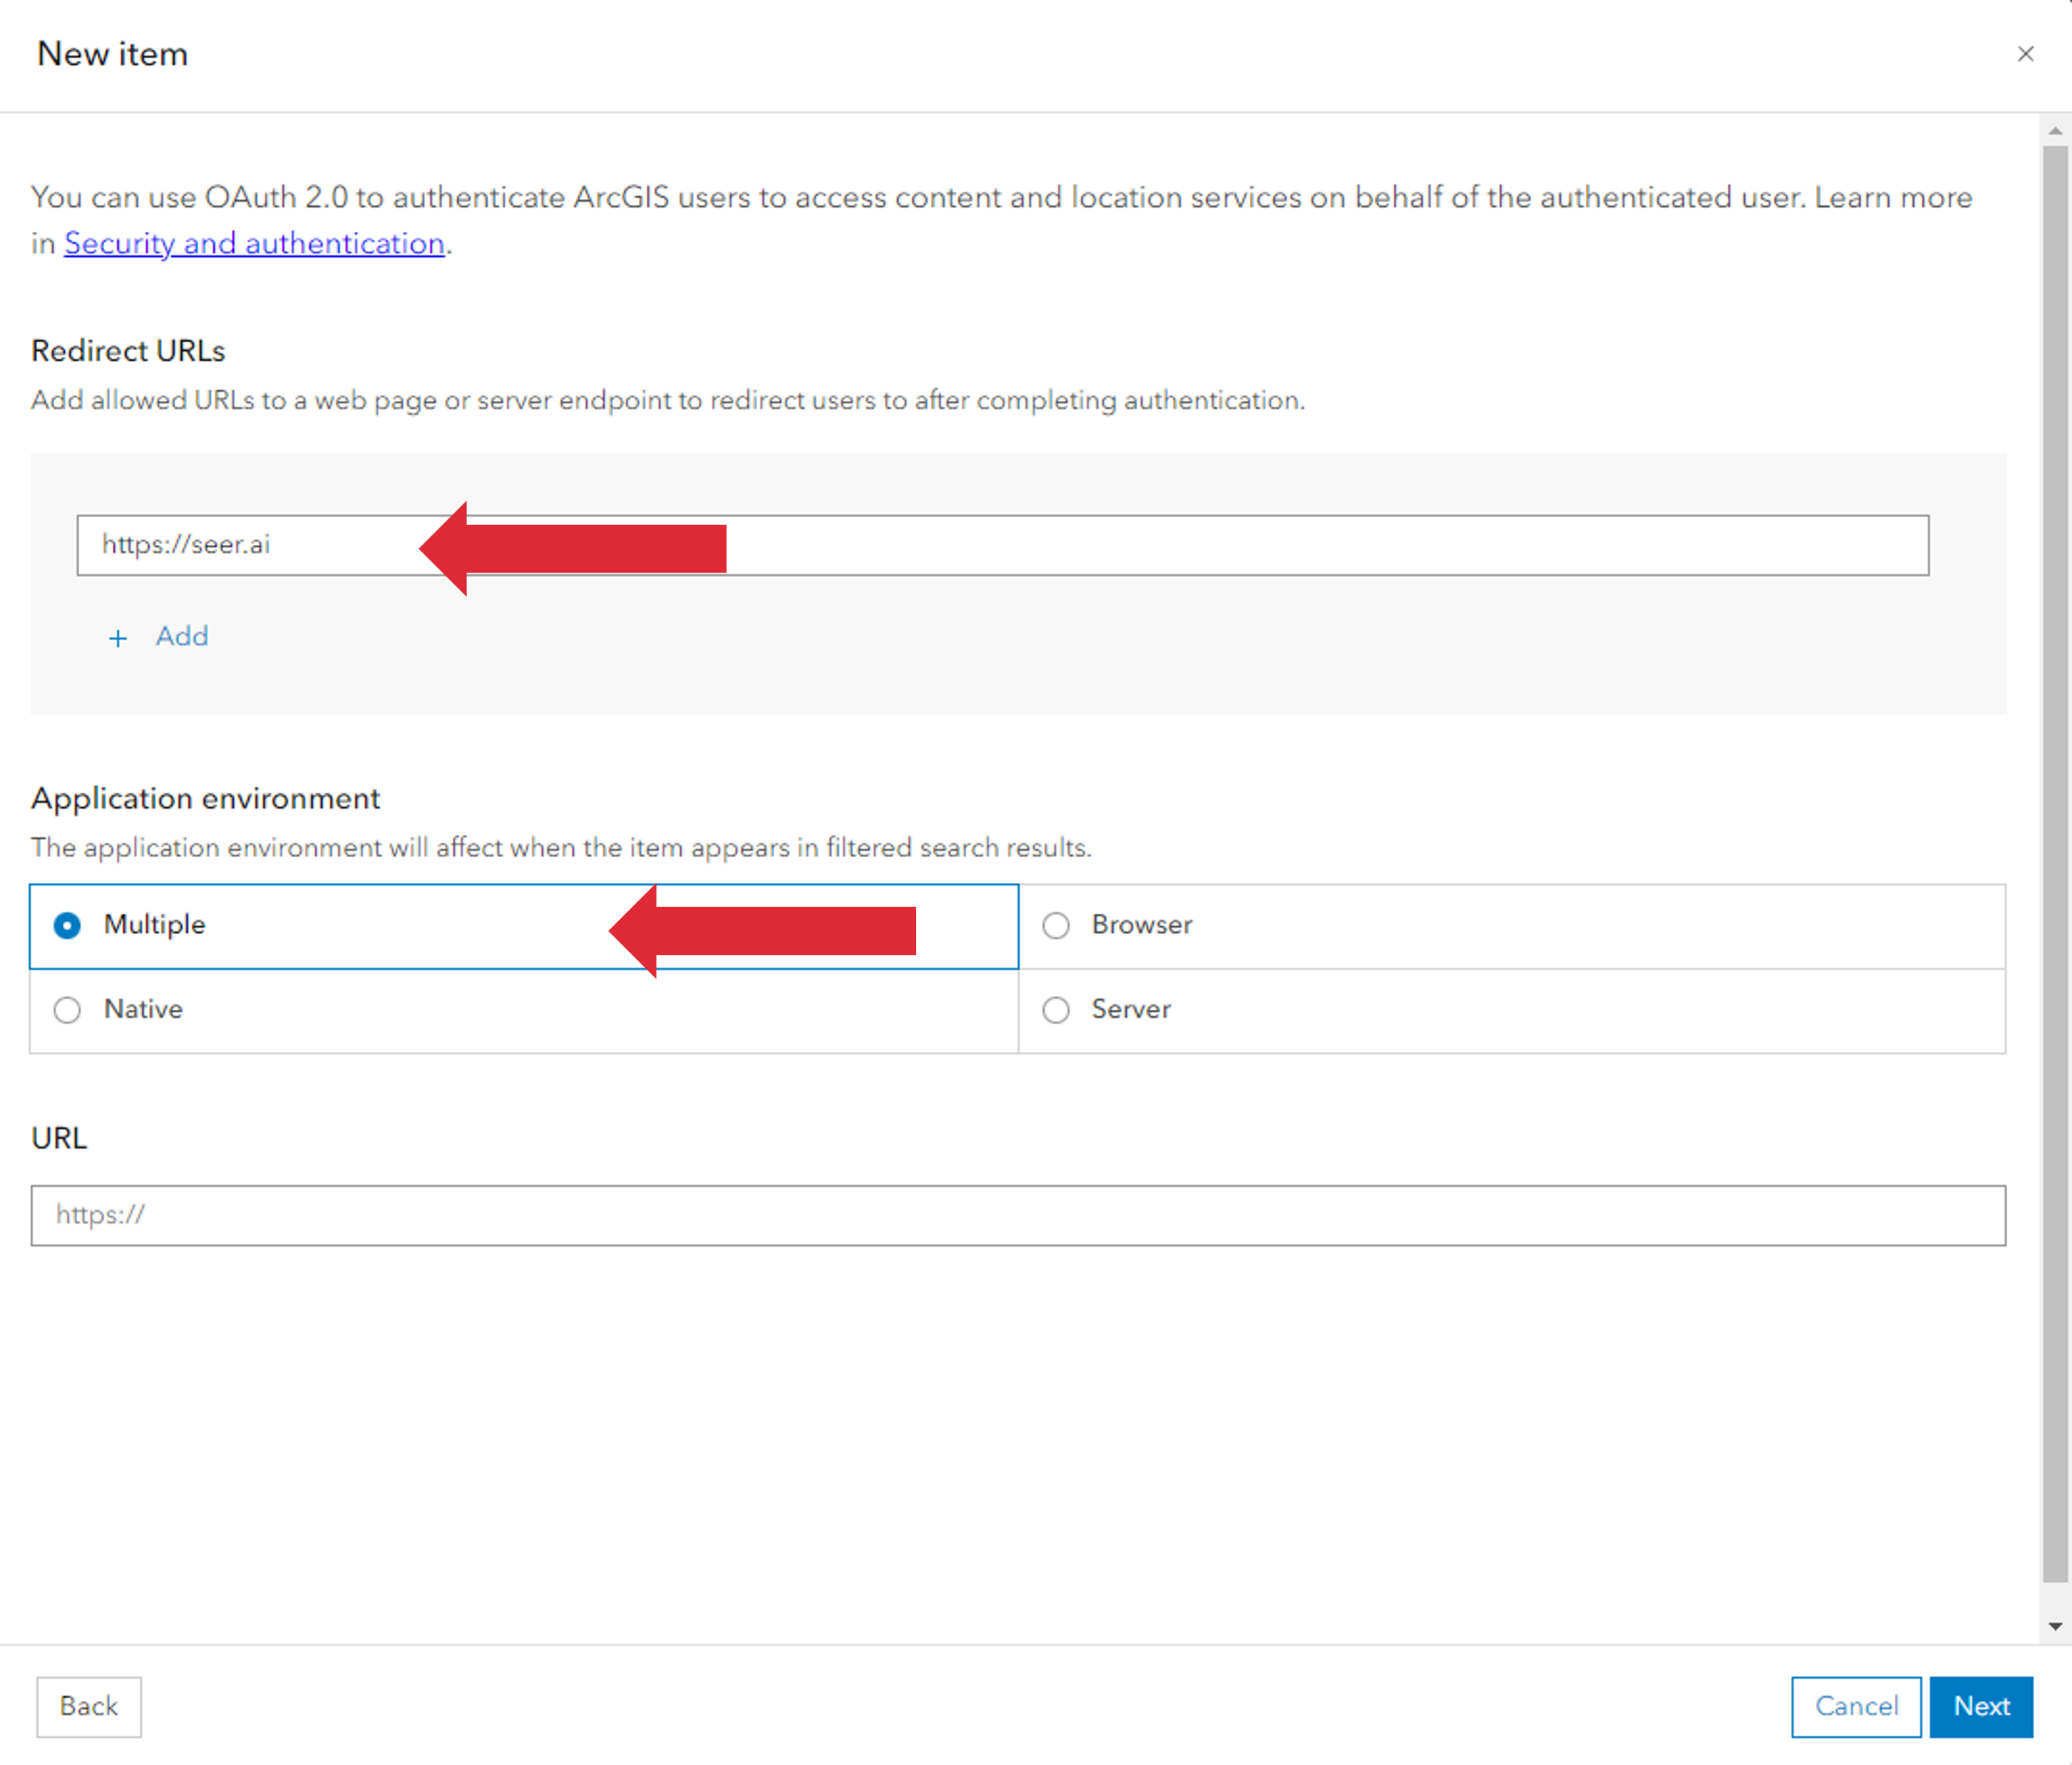
The next screen will ask you to configure the application. The Redirect URI is not used by Geodesic currently but is a required field so enter https://seer.ai. Make sure the Multiple radio button is selected for the Application Environment field.
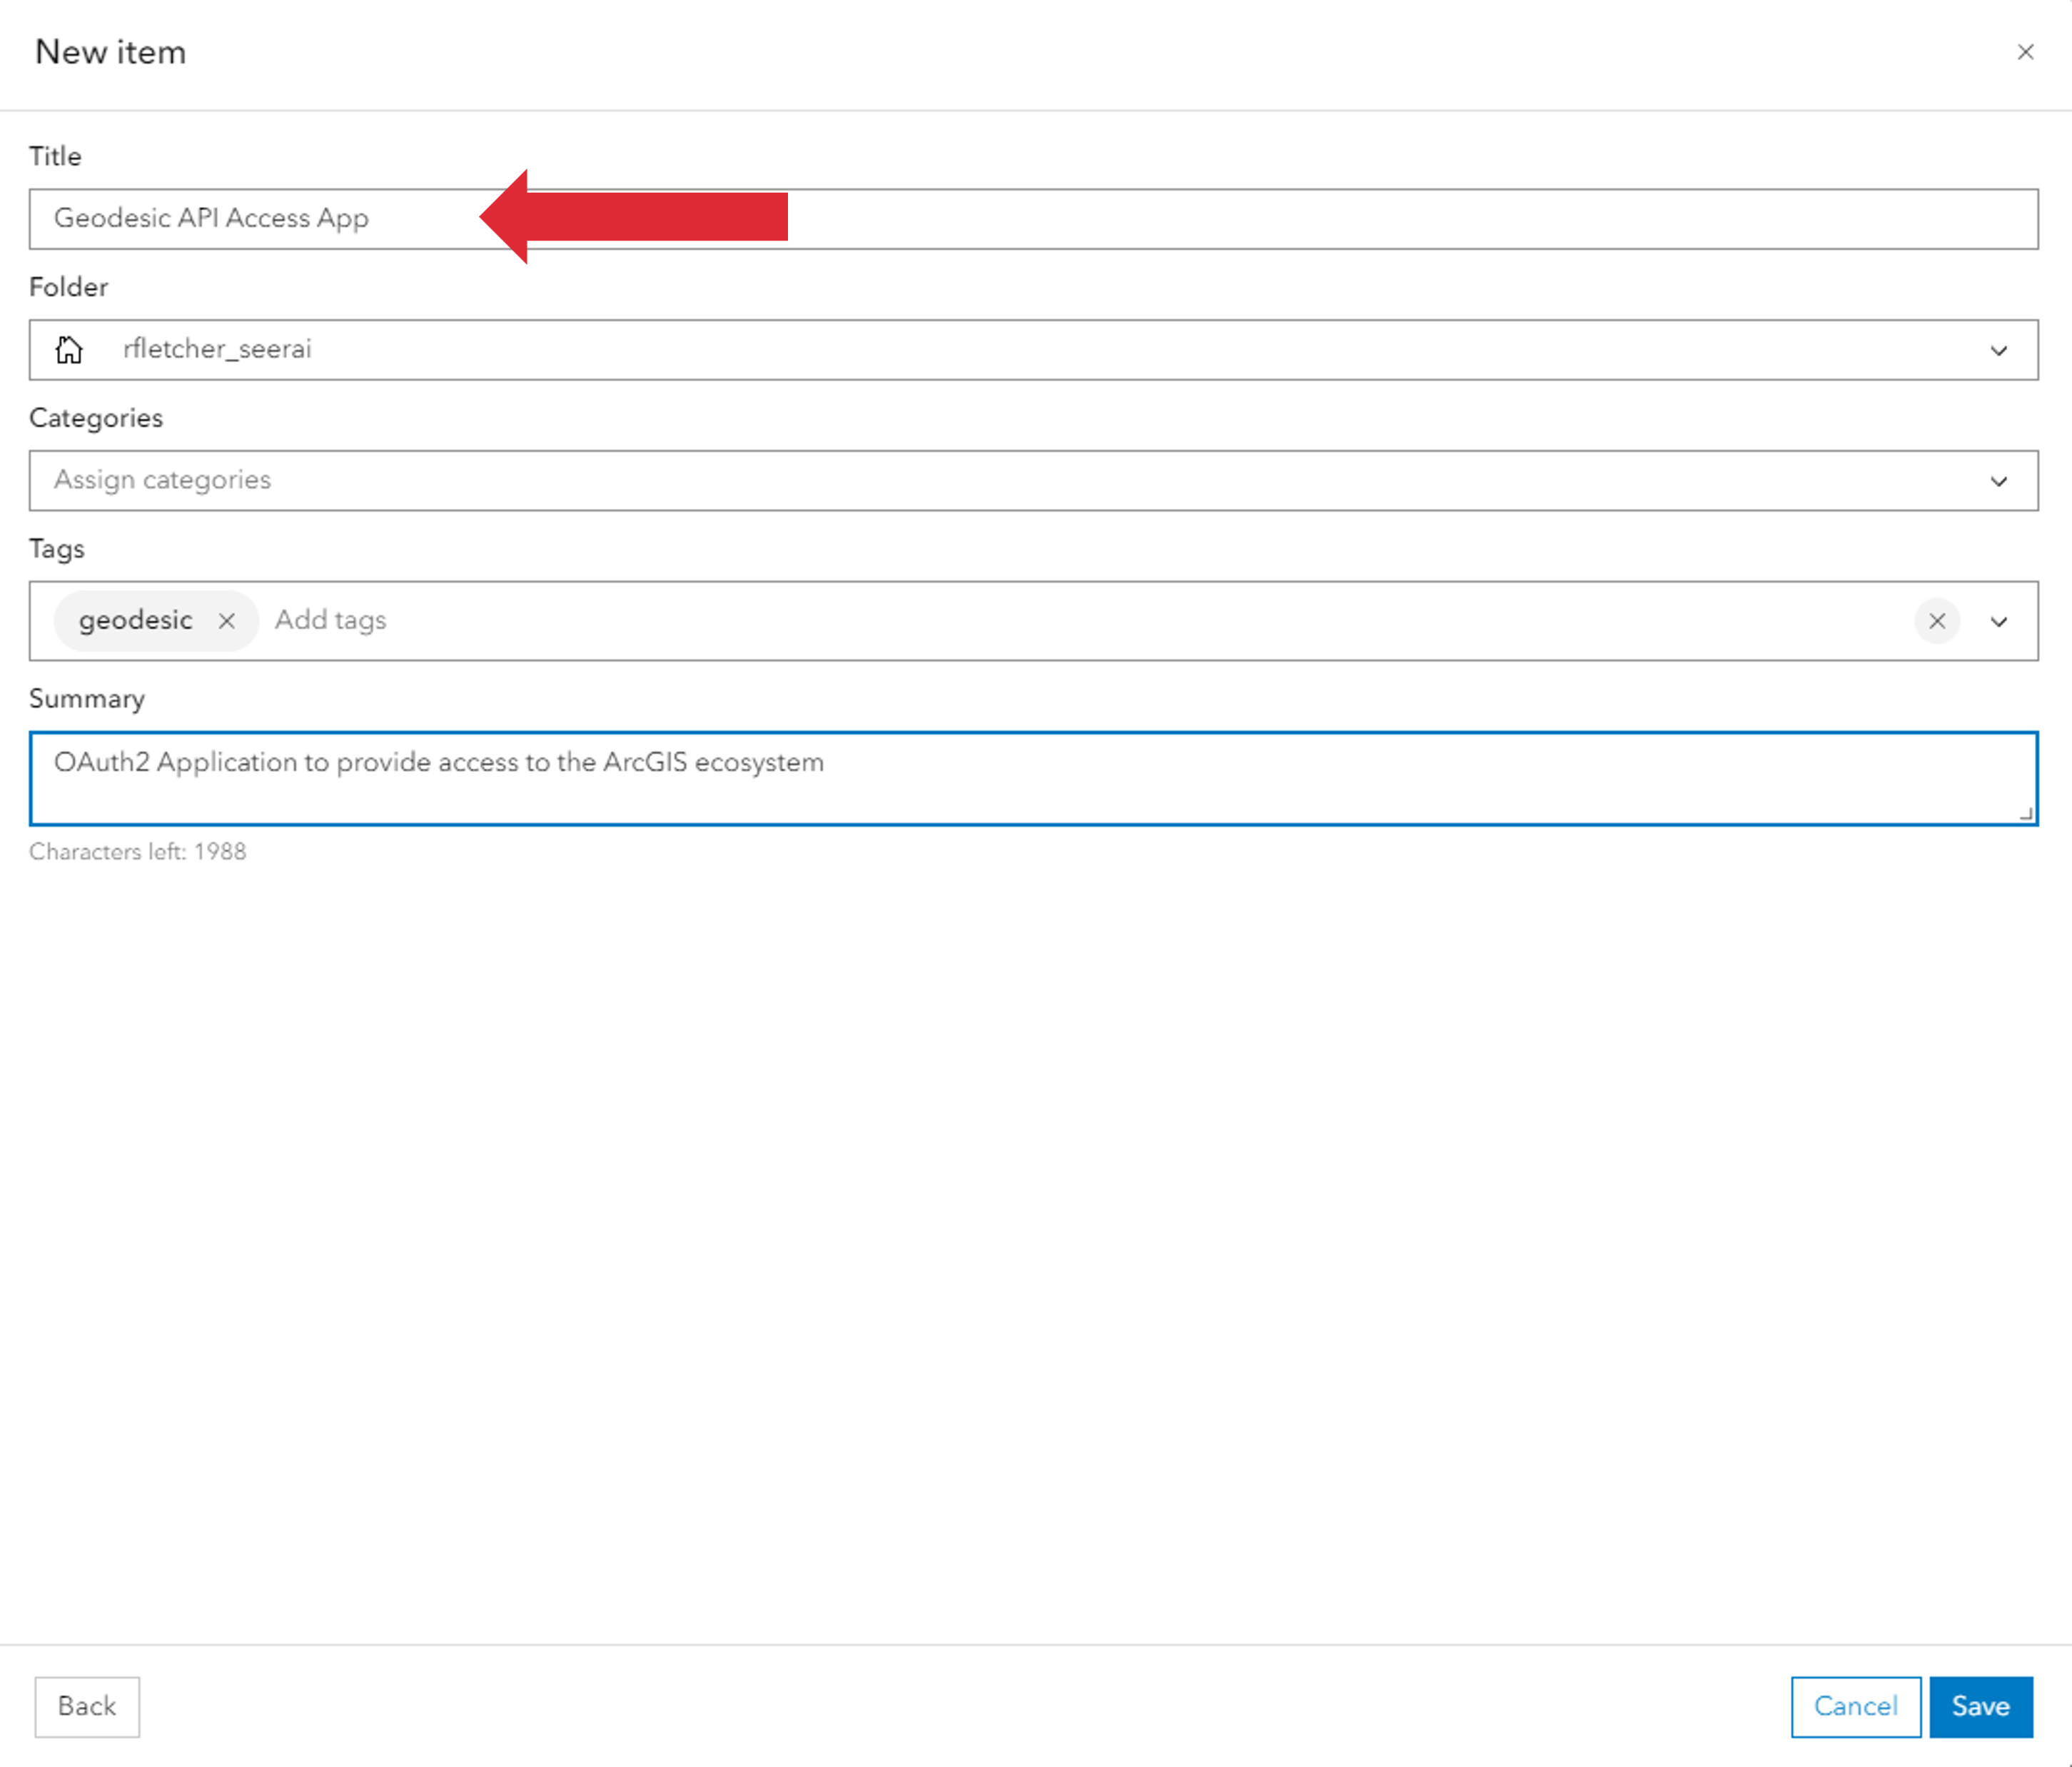
After clicking the Next button, you will be taken to a page to name your application and enter other metadata about it. Name you application whatever you would like along with any other information you would like to add in and click the Save button.
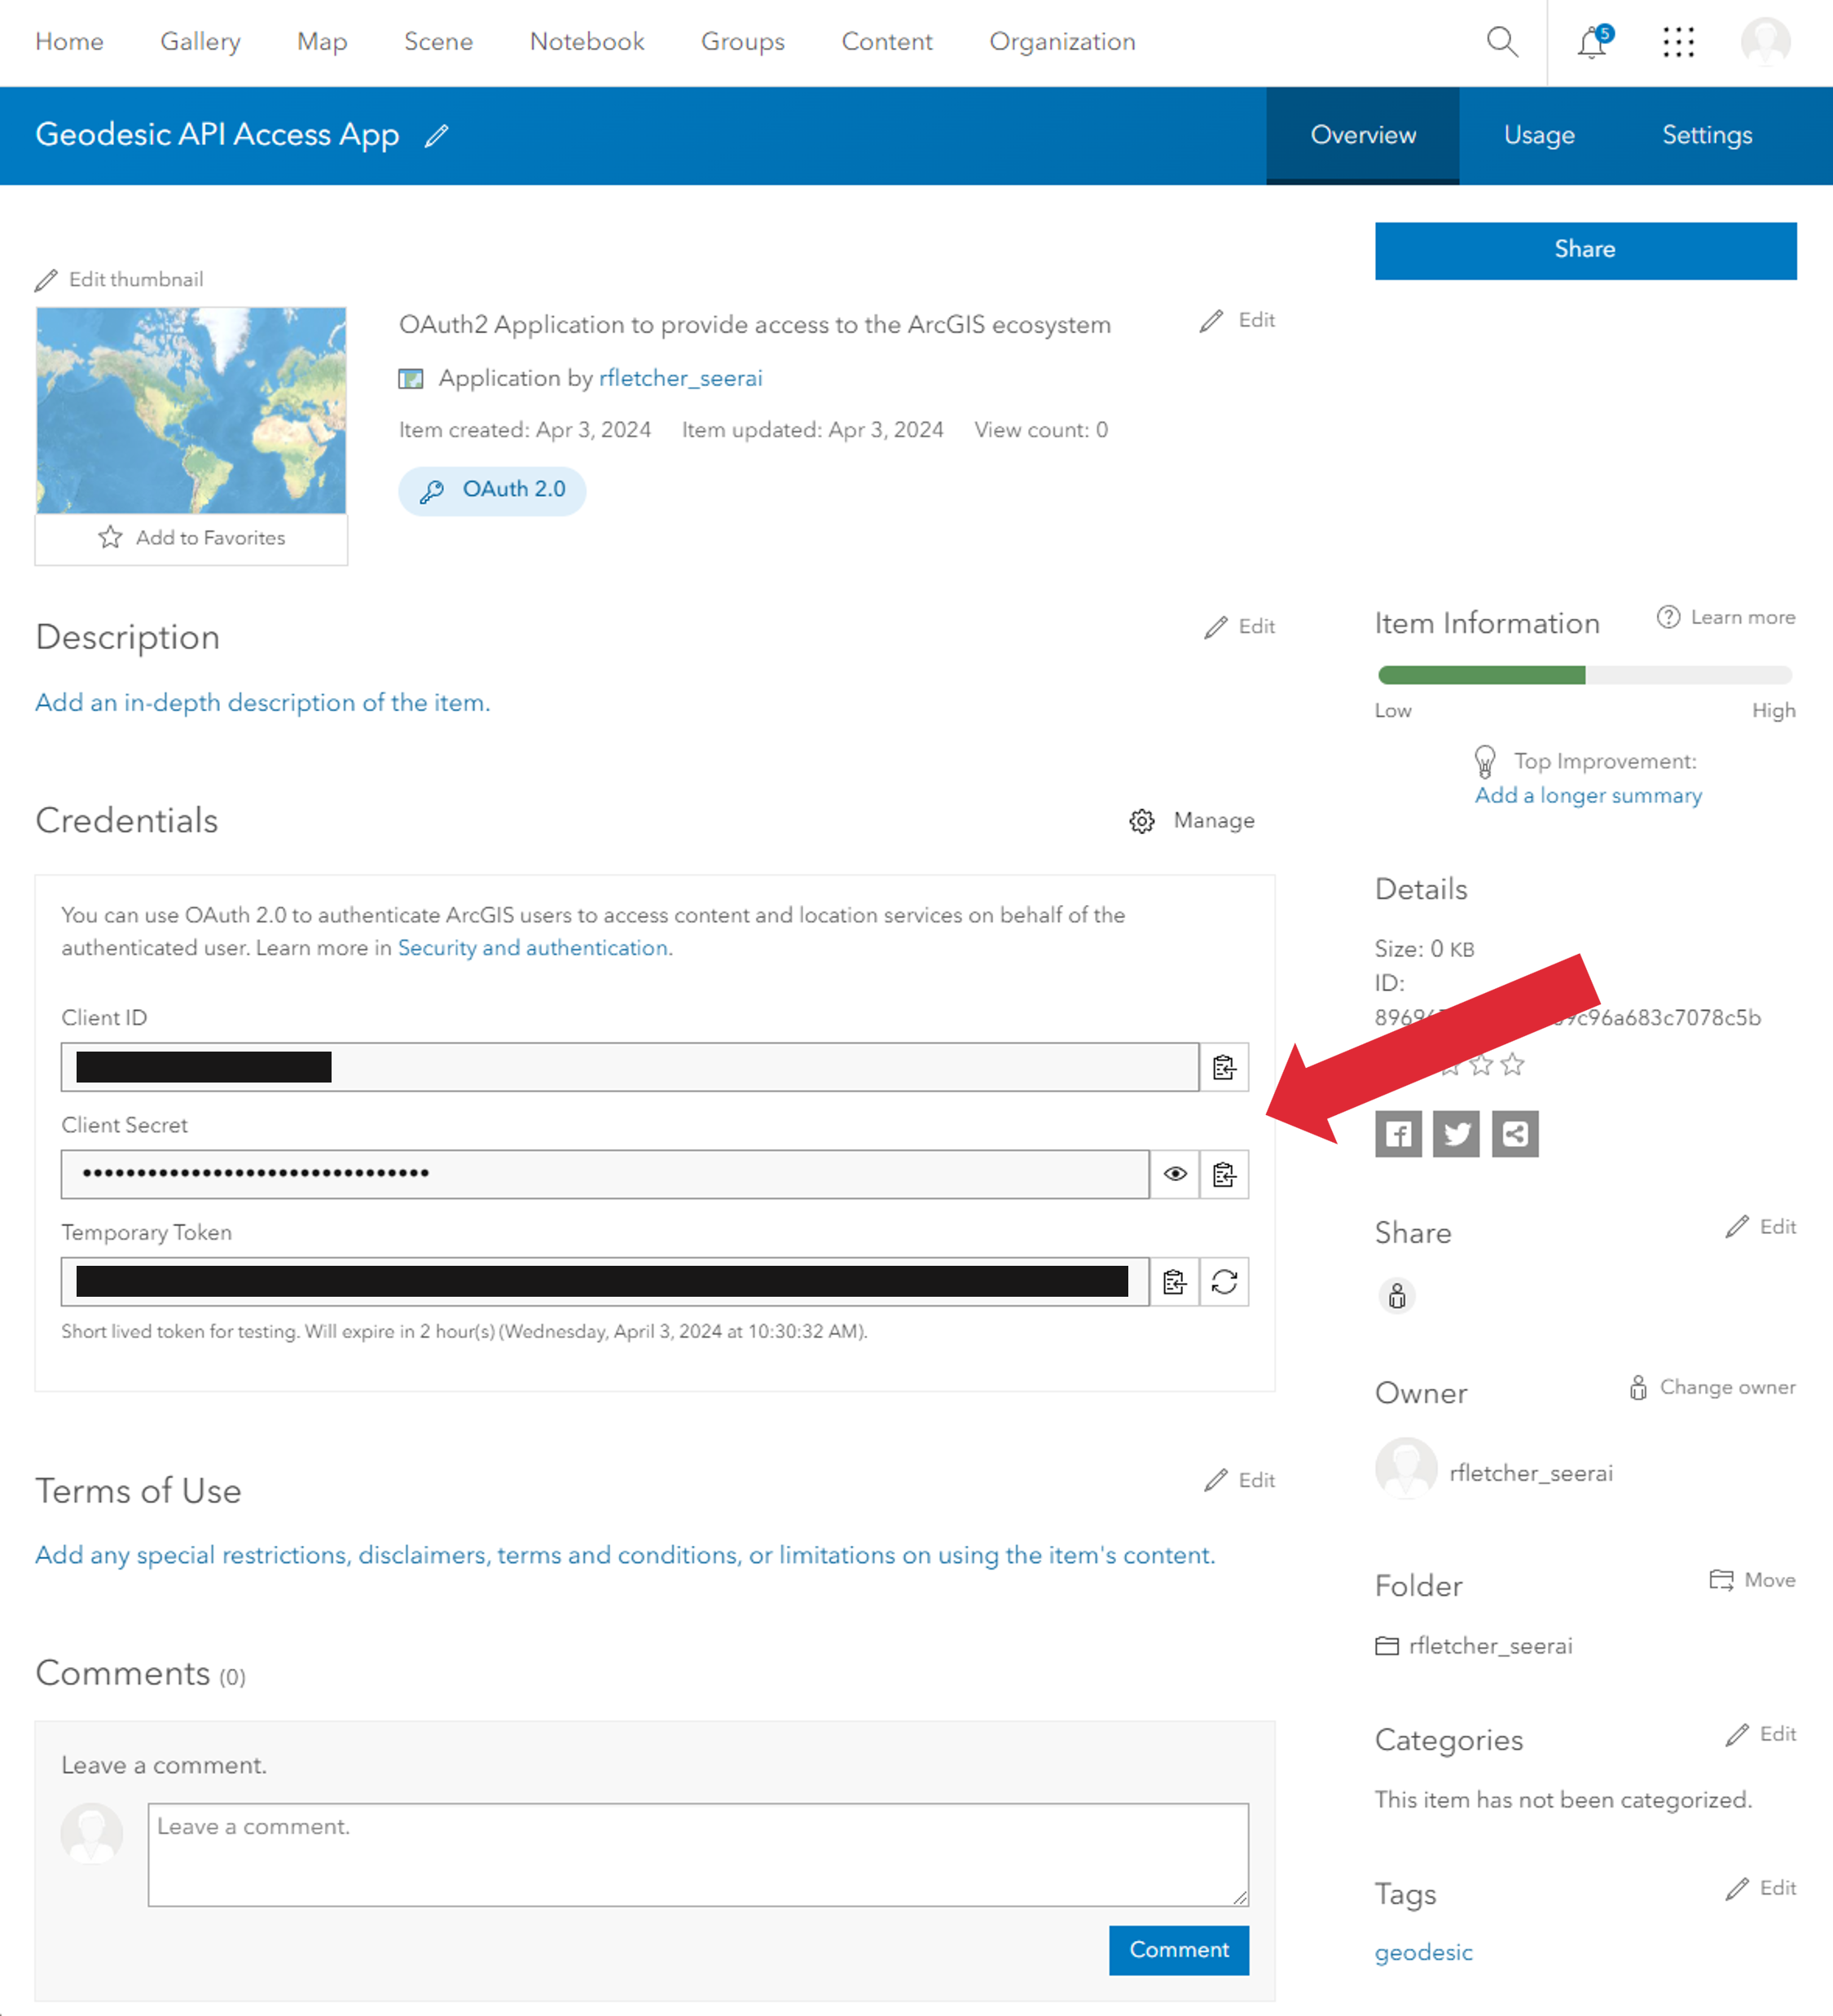
After saving, you will be taken to the application page. Here you will find the client_id and client_secret that are needed to connect to the ArcGIS services.
Now that you have the client_id and client_secret, you can add the ArcGIS credential to Geodesic. In python, you can use the Credential.from_oauth2_client_credentials method to create the credential. The name field below is the name that will be used to reference the credential in the Geodesic Platform. Choose a name that works for you.
import geodesic

cred = geodesic.Credential.from_oauth2_client_credentials(
    name='my-arcgis-credential',
    client_id='<client id from ArcGIS Application>',
    client_secret='<client secret from ArcGIS Application>',
    token_url='https://www.arcgis.com/sharing/rest/oauth2/token',
    authorization_url='https://www.arcgis.com/sharing/rest/oauth2/authorize'
)
cred.create()
Note
If you are using an ArcGIS Enterprise Portal, you will need to replace the token_url and authorization_url with the appropriate URLs for your portal. The URLs provided above are for ArcGIS Online.
You can now check that the credential was saved correctly by getting all credentials associated with your Geodesic account.
geodesic.get_credentials()
This will return a list of all the credentials saved to your account. You should see the credential you just created in the list.
Now that you have added an OAuth2 App to your ArcGIS portal, you can manage them either through the portal, or through the developer page at https://developers.arcgis.com/dashboard/. At the top of this page, you will see an OAuth 2.0 tab. This will show you all the OAuth2 applications you have created and allow you to manage them.
