Adding Datasets
To add a dataset to the Geodesic platform, select the Create Dataset + Button.
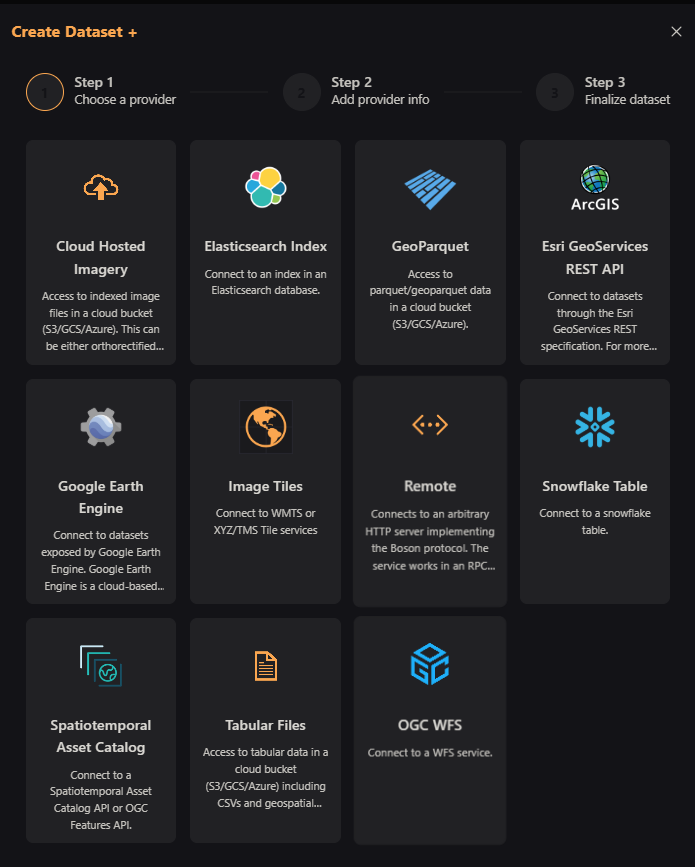
As you can see, there are many dataset options to choose from. In this tutorial, we will add a GeoParquet dataset from a cloud provider. Select the GeoParquet option.
Adding a GeoParquet Dataset
The Dataset Name must follow the following rules:
- Undercase
- Only contain letters, numbers, and dashes (
-)
Select the project you want to add the dataset to. If you have not created a project, see the Creating a Project documentation.
The Datetime Field is the field in the dataset that contains the time information. This field is used to filter the data by time. If the dataset does not have a time field, leave this field blank.
The Expose Partitions as Layer option allows you to expose the partitions of the dataset as separate layers. If your GeoParquet data are spatially partitioned, this option will allow you to access each partition as a separate layer.
Finally, the URL field is the location of the GeoParquet data. This can be a URL to a cloud bucket or a local file path.
We can add a subset of the Microsoft Buildings dataset from the following URL:
gs://geodesic-public-data/ms-building.parquet. This dataset contains building footprints from
Vatican City.
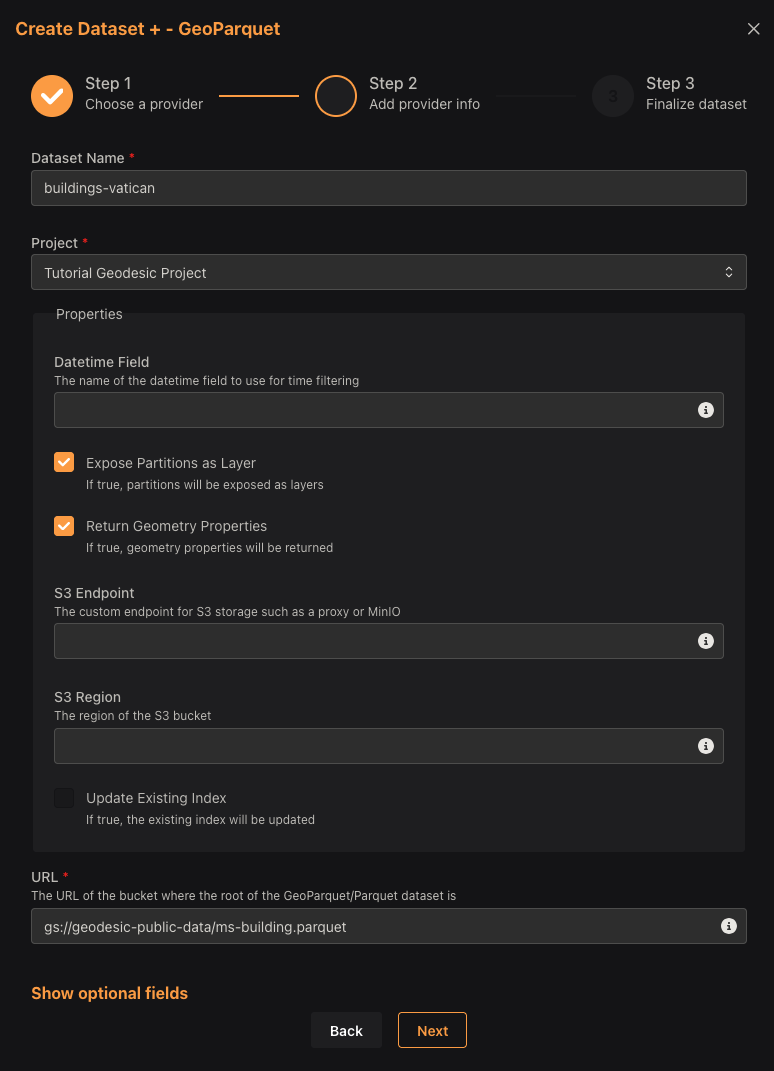
Because building data does not have a time component, we do not need to fill out the
Datetime Field field.
If the dataset were located in a private bucket that required authorization, we would add the
necessary credentials in the Credentials section under the optional fields dropdown. If you need
help adding or managing your credentials, see the
Adding a Credential documentation.
Select Next to review the dataset information.
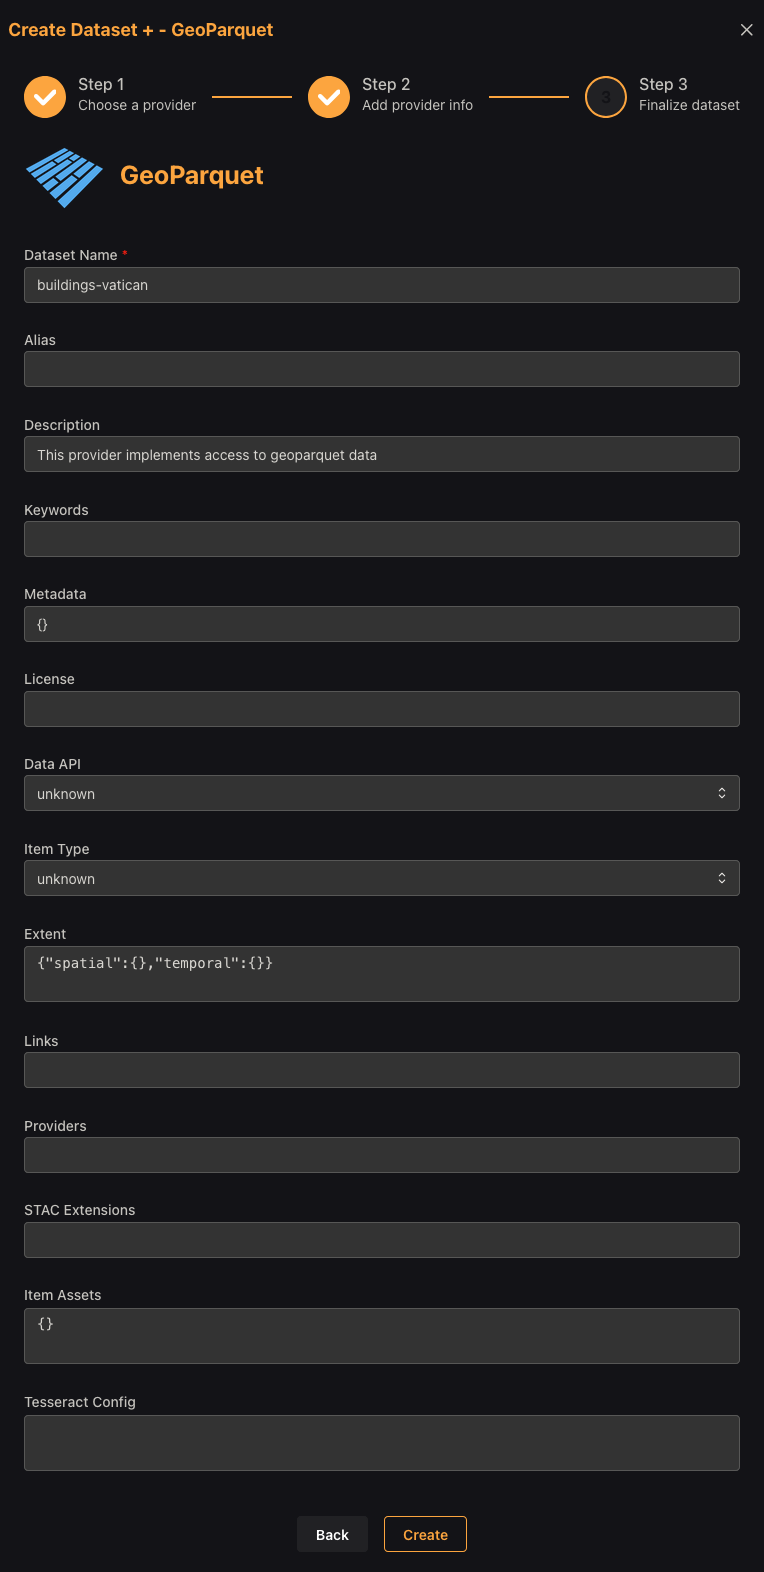
This final screen allows you to add additional information to your dataset, namely an alias which does not need to fit the same naming conventions as the dataset name.
Finally, we can click Create to add the dataset to our project.
Adding Imagery Datasets
Adding an imagery dataset is similar to adding a GeoParquet dataset shown above. There are a few different ways that imagery datasets may be stored. The most common are:
- Cloud Hosted Imagery. These are typically GeoTIFFs or some other file format hosted in a cloud storage bucket suck as AWS S3, Google Cloud Storage, or Azure Blob Storage.
- Image Tiles. These are typically hosted as WMTS or XYZ/TMS tiles.
- STAC. These are hosted as a SpatioTemporal Asset Catalog (STAC) API.
- Google Earth Engine. These are hosted on Google Earth Engine and can be accessed via a URL.
- ArcGIS Image Services. These are hosted on an ArcGIS server and can be accessed via a URL.
These imagery sources are all supported by the Geodesic Platform and are easy to add to your project.
Its common to find imagery that is just dumped into a cloud bucket. While this is convenient from the data management point of view, it can be extrememly difficult to host this imagery with a geospatial api without moving that data and ingesting it into another platform and/or converting formats. The Geodesic Platform allows you to keep your data where it is and access it directly from the cloud bucket with no fuss.
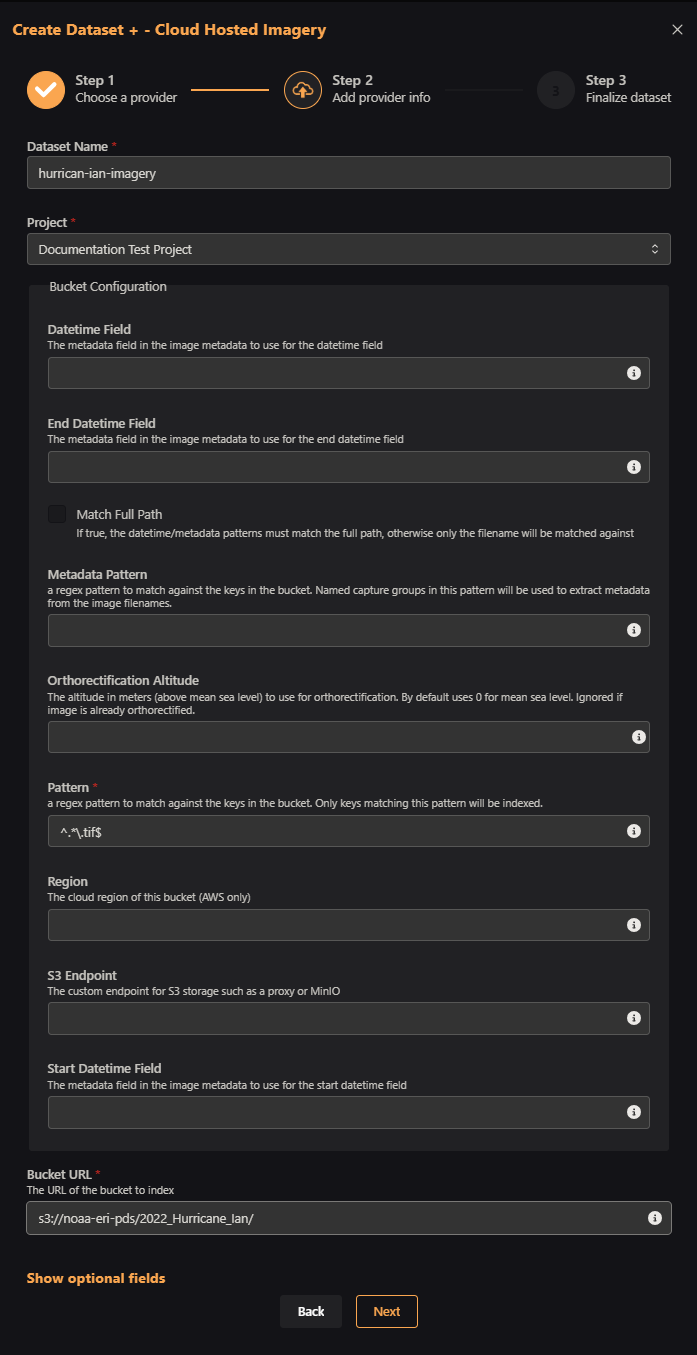
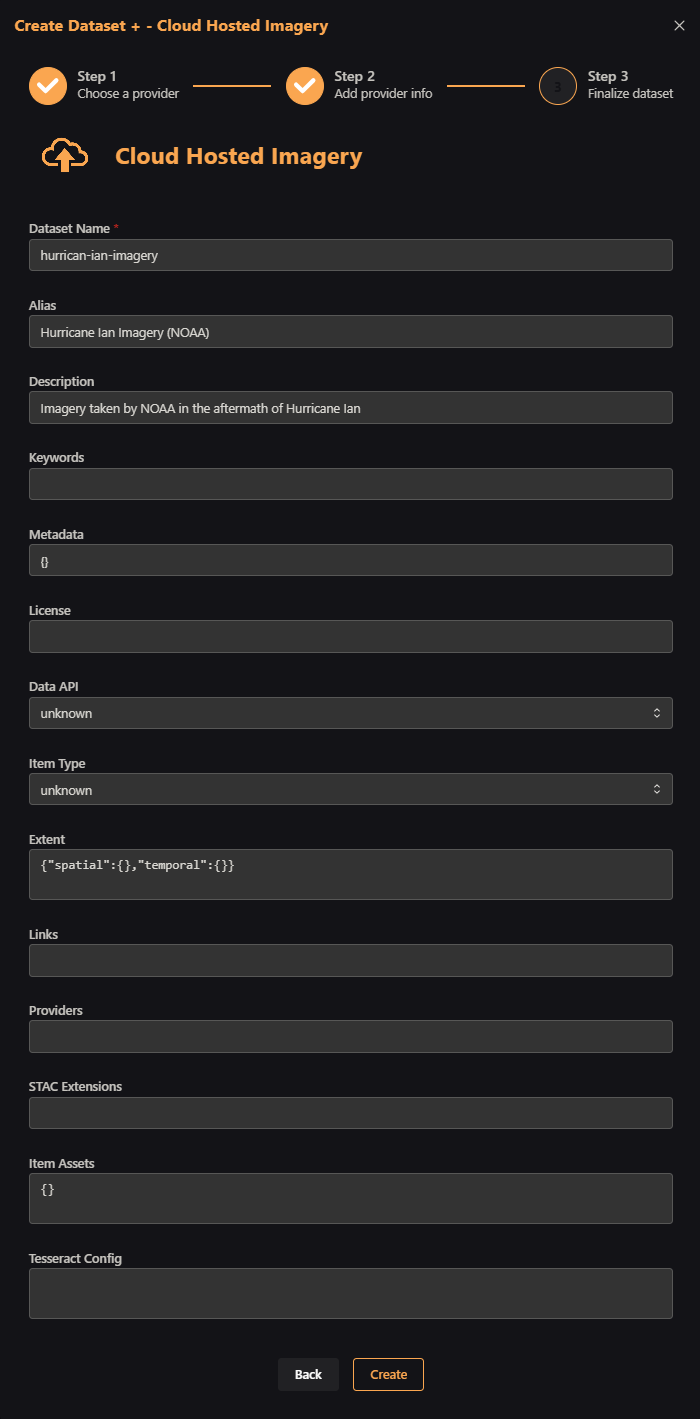
In this next example, we will add some cloud hosted imagery as a Dataset. These data are high-resolution images taken from aircraft flown by the National Oceanic and Atmospheric Administration (NOAA) in the immediate aftermath of Hurricane Ian in September of 2022. They are GeoTiffs in an Amazon S3 bucket. First, we select the Create Dataset + Button and choose the Cloud Hosted Imagery option.
Then, fill in the dataset name, project, regex pattern (here, we use '^.*.tif$' to match all files ending with 'tif'), and the bucket URL.
Then, add other optional information like alias and description.
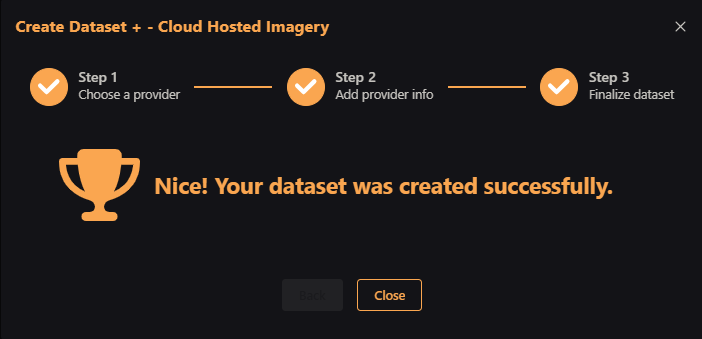
And that's it! Another dataset added to your project.
Next Steps
Interact with the Knowledge Graph
After creating your dataset, it will appear in the Entanglement graph, a connected network of datasets and their relationships. You can learn more about how to create and query these connections in the Knowledge Graph Getting Started page, or click below for the more detailed tutorials about the Knowledge Graph.
Add Middleware to your Dataset
To do more with your dataset, you can add Middleware to it. Middleware allows you to add transformations (such as create a calculated column, perform band arithmetic, and much more!) to your data on the fly.
Share your Dataset
To serve your dataset to a GIS workflow, map or Python environment, continue on to the Sharing Datasets Tutorials.
Creating Dataset Reference
To see reference material on adding datasets of all types, and more information on the options in the Create Dataset interface, see the Reference Section