Adding a Dataset
Geodesic makes adding datasets easy. Once a dataset is added, you can query it for data, add middleware to transform it, and/or serve it out in the format of your choice.
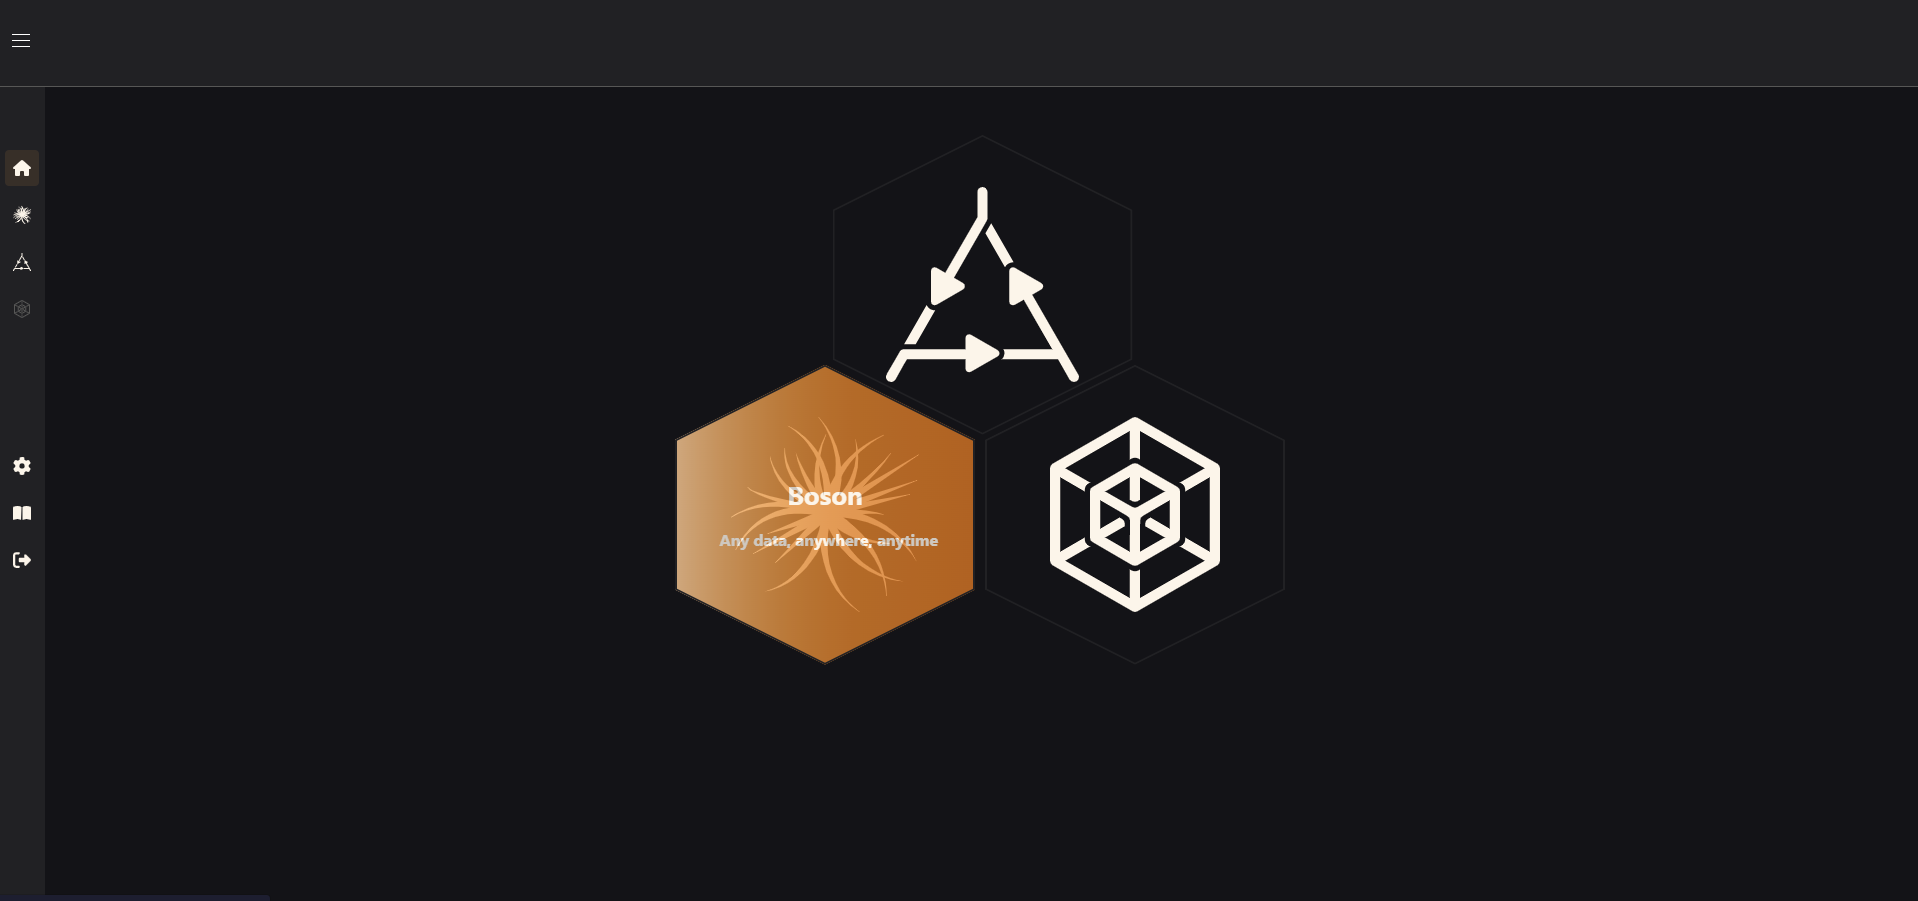
First, navigate to Boson, Geodesic's Data Mesh service. Either click on the large Boson icon on the Geodesic landing page, or the small icon on the right-hand sidebar.
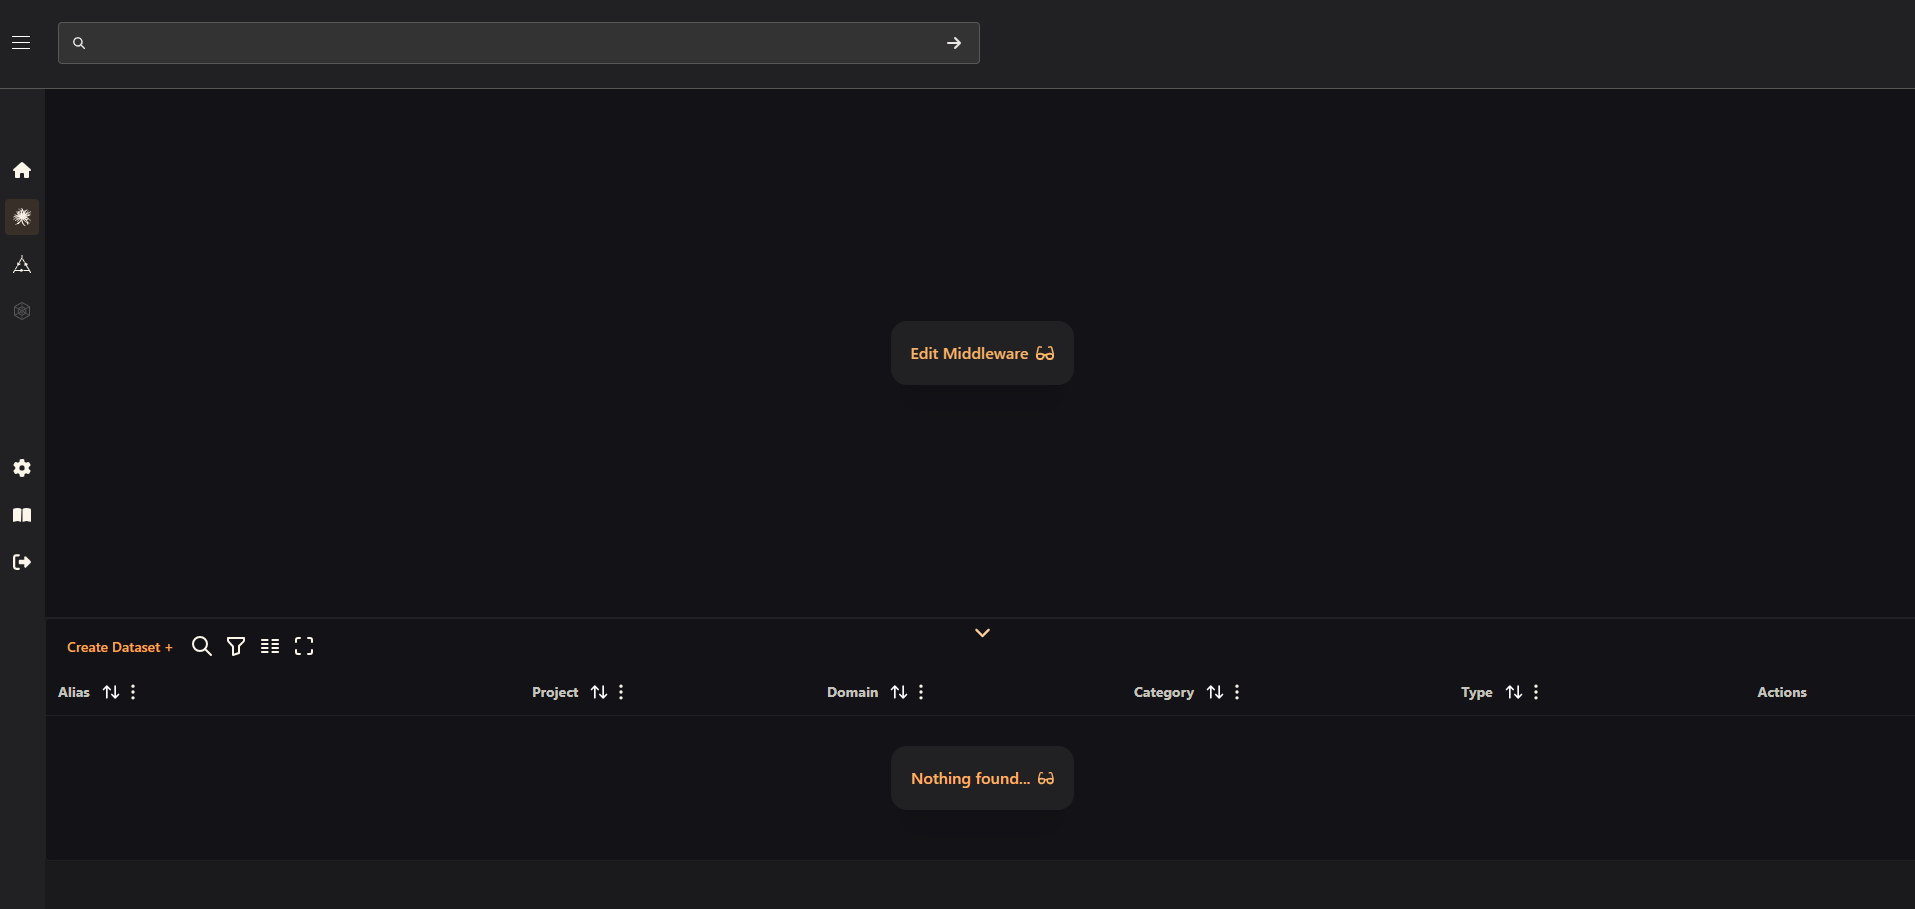
This brings you to the Boson interface. To add a dataset, simply click on the "Create Dataset +" button.
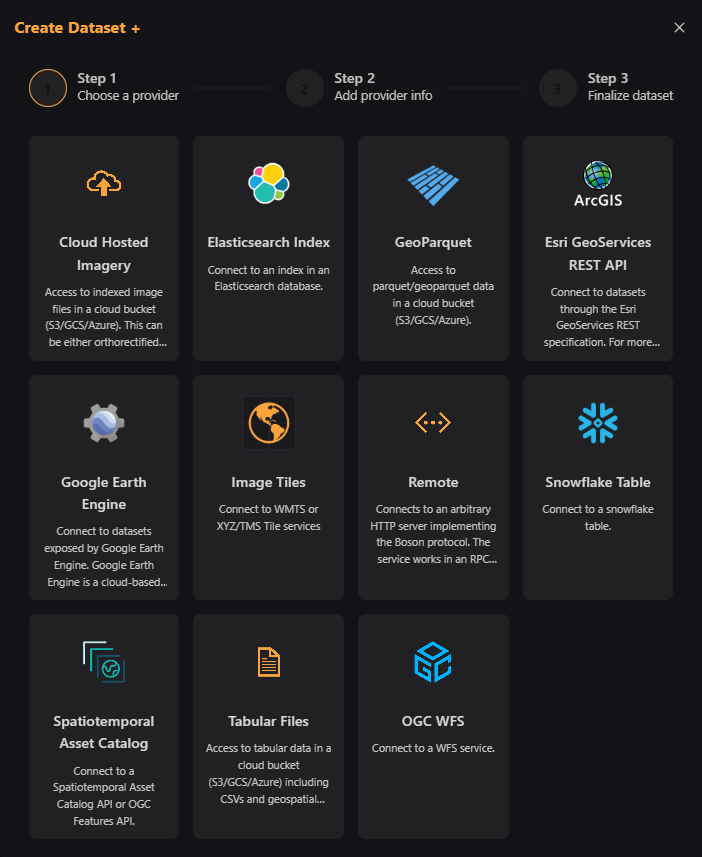
This will bring up the Create Dataset window. The first screen shows the variety of providers that you can add. In this example, we will add Sentinel-2 imagery as a dataset. The data are hosted as a Spatio Temporal Asset Catalog (STAC) collection, so we will choose the STAC provider. To see details about the rest of the available providers, see the Adding Datasets Tutorial.
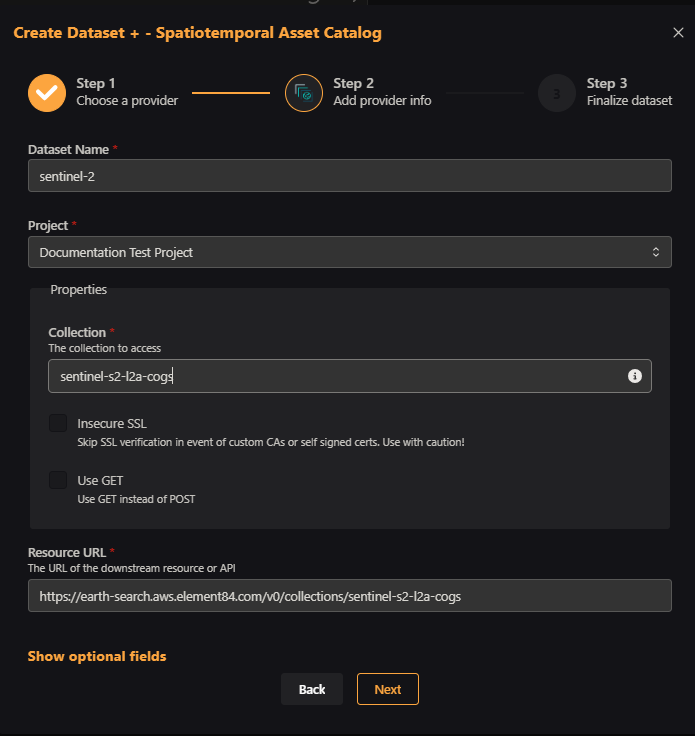
On the next page, you give the dataset a name, choose which project to save it in, and provide a URL that points to the data. You can click on "Show Optional Fields" to add credentials, a cache for quicker data access, and some additional options.
On the next page, you can add additional details, such as an alias and description.

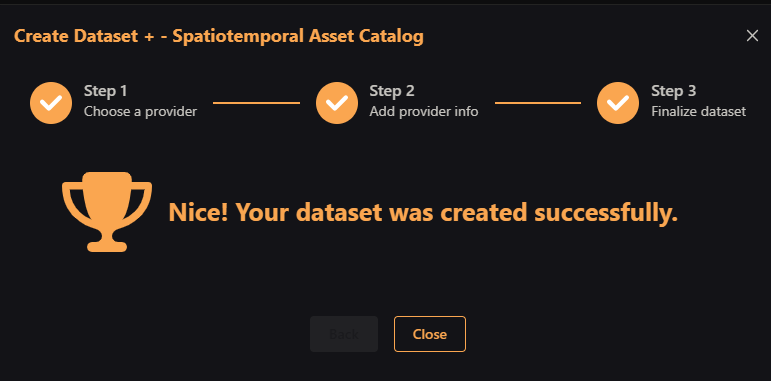
Hit "Create" and you are done!
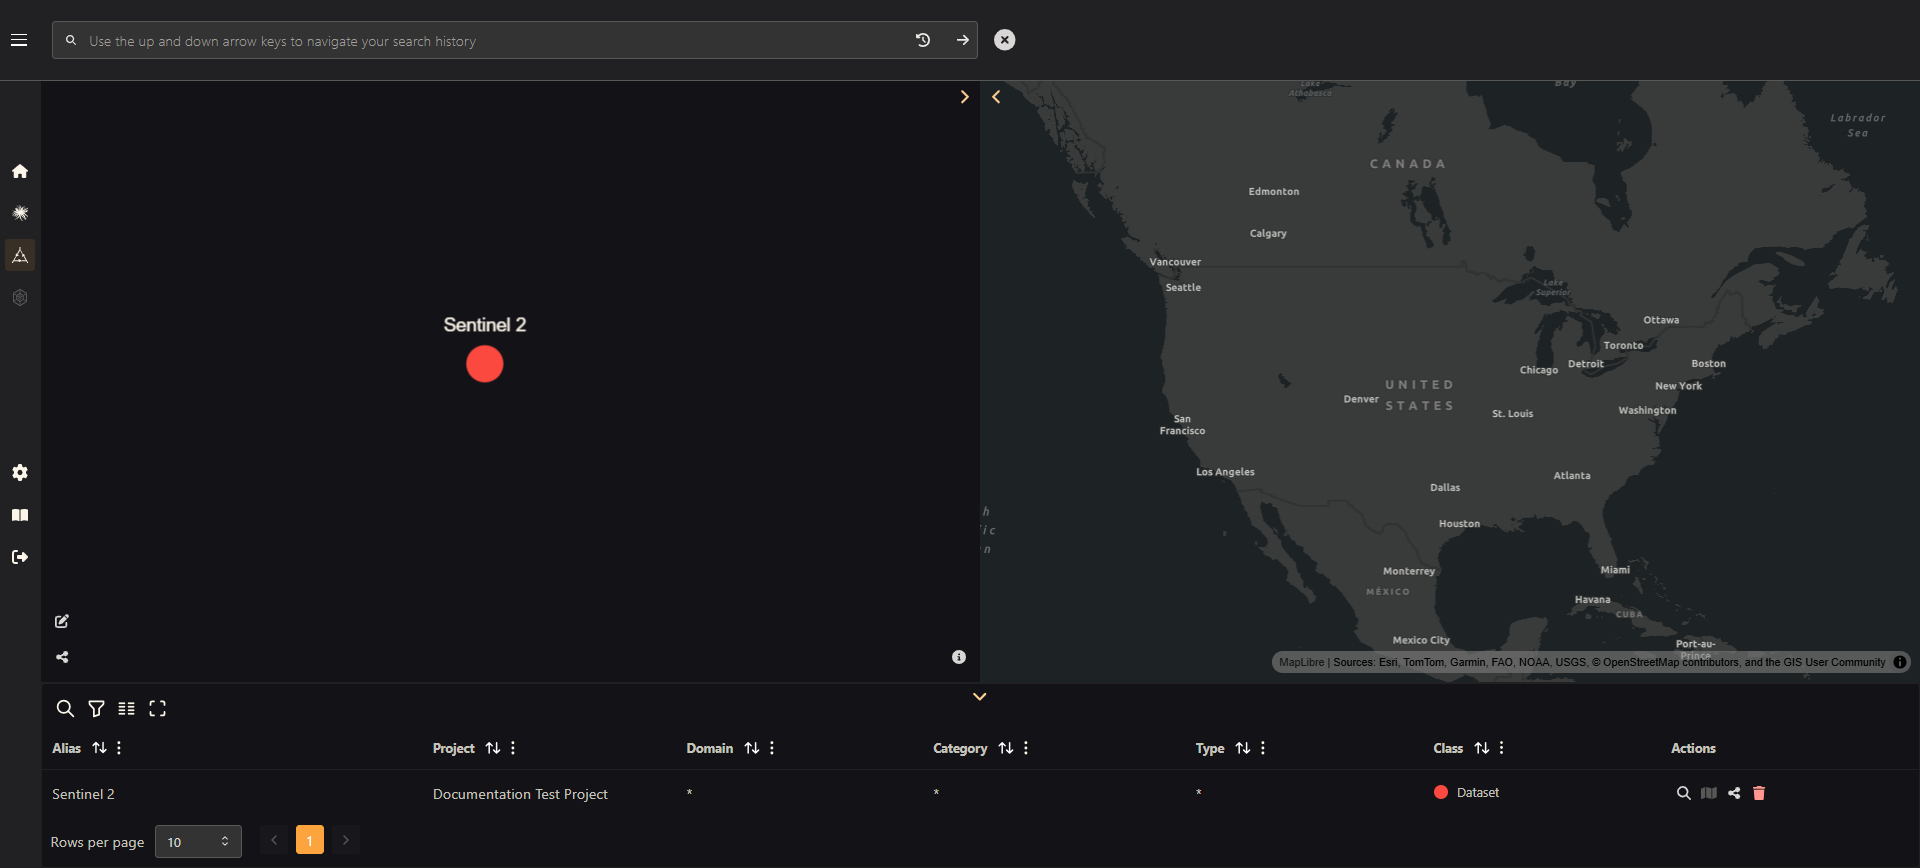
The dataset now exists in your project. Here, it is shown as a dataset node in Entanglement, the knowledge graph.
Next Steps
Apply Middleware
You can apply middleware to perform operations on your data on the fly. You can select certain imagery bands, perform band arithmatic, change feature names, create new columns, and more. To learn more about middleware, see our Middleware Tutorial
Serve Data
To share your new dataset out to a GIS workflow (such as ArcGIS online or Felt maps), or to a Python session, see our Sharing a Dataset page.
Add Connections
To connect this dataset to other datasets, concepts, observables, etc. in the knowledge graph, see our primer on editing the knowledge graph.