Editing the Graph
Once you have run a search to populate the graph window, you can use the "Edit Graph" button to add and remove nodes and connections.
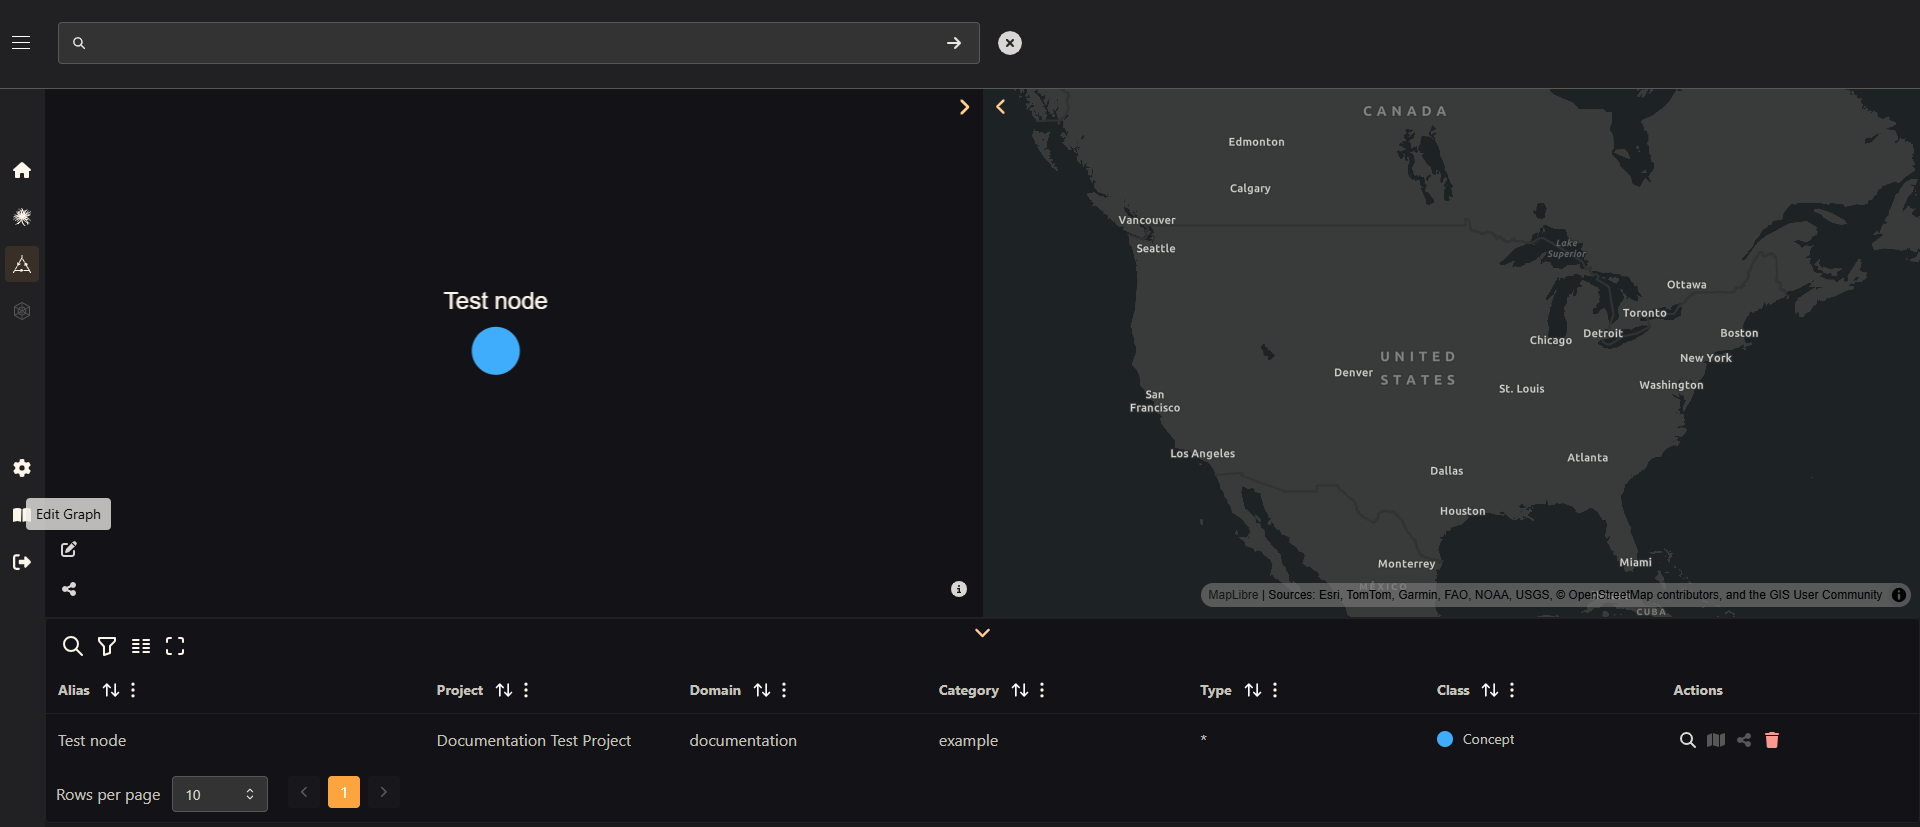
Adding a Node
As you can see, this project has just one node at the moment - a Concept node called "Test Node". We will add a new node called "Test Observable" to represent some observable quantity about our Test Node concept. With the Graph Editor mode on, we simply click on an empty part of the graph to create a new node.
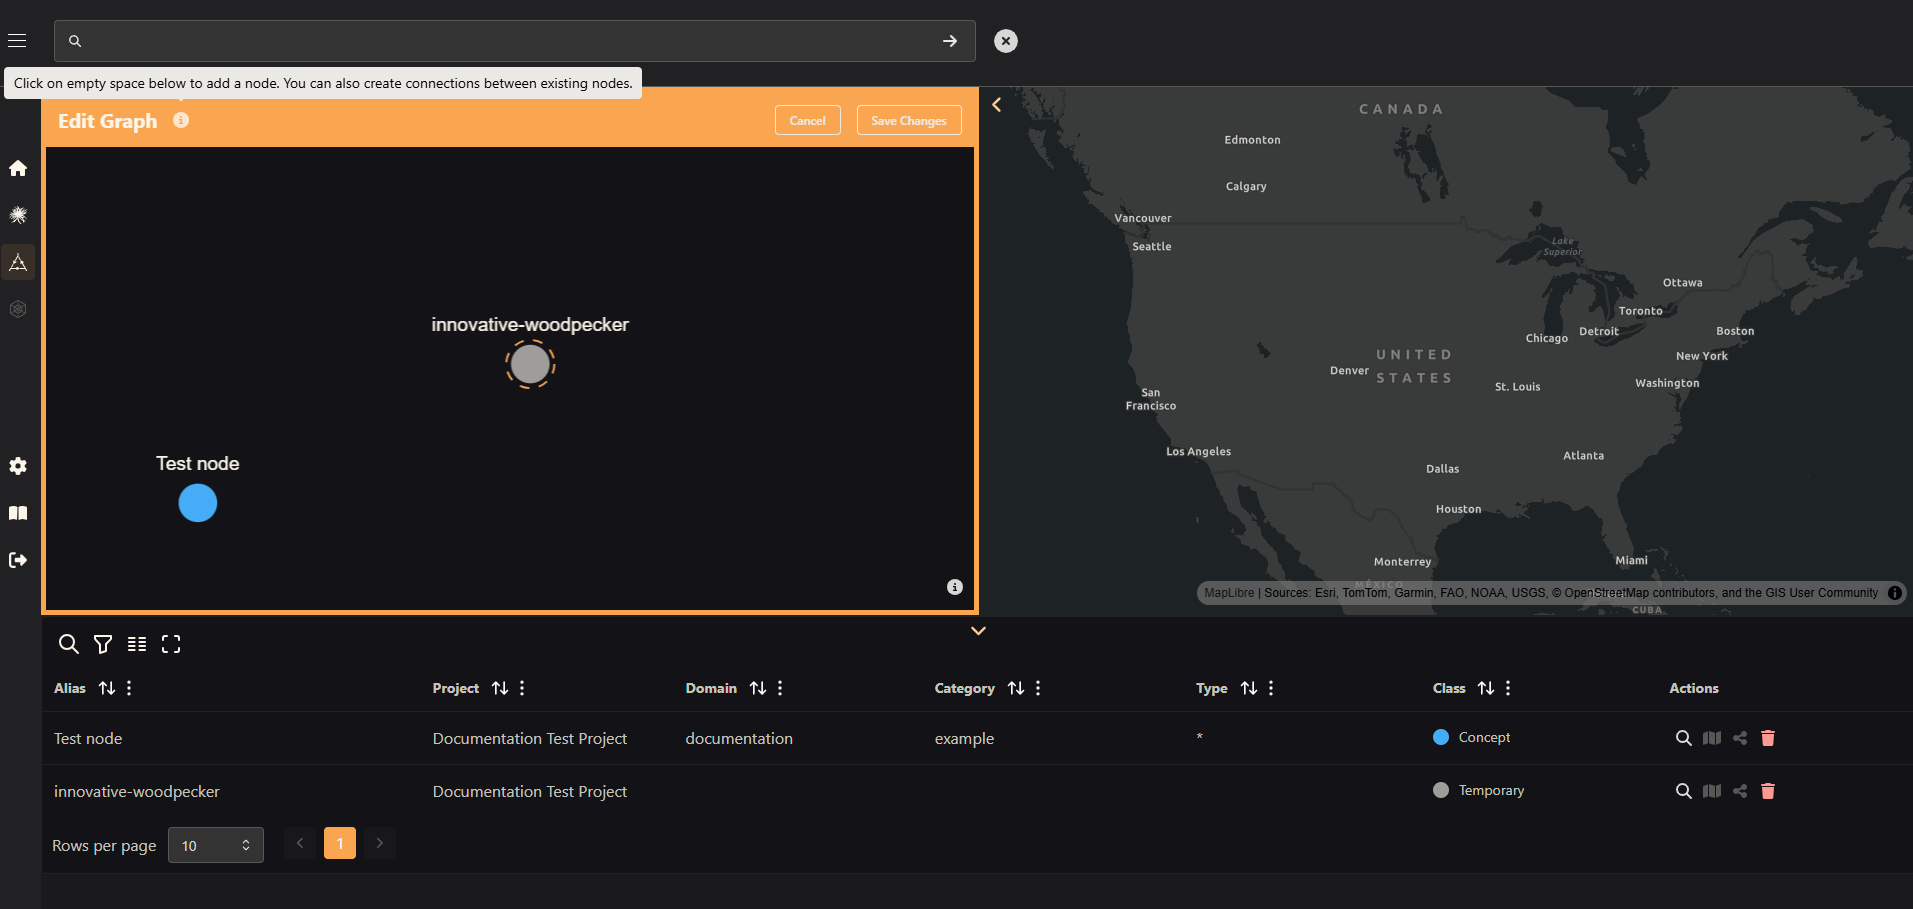
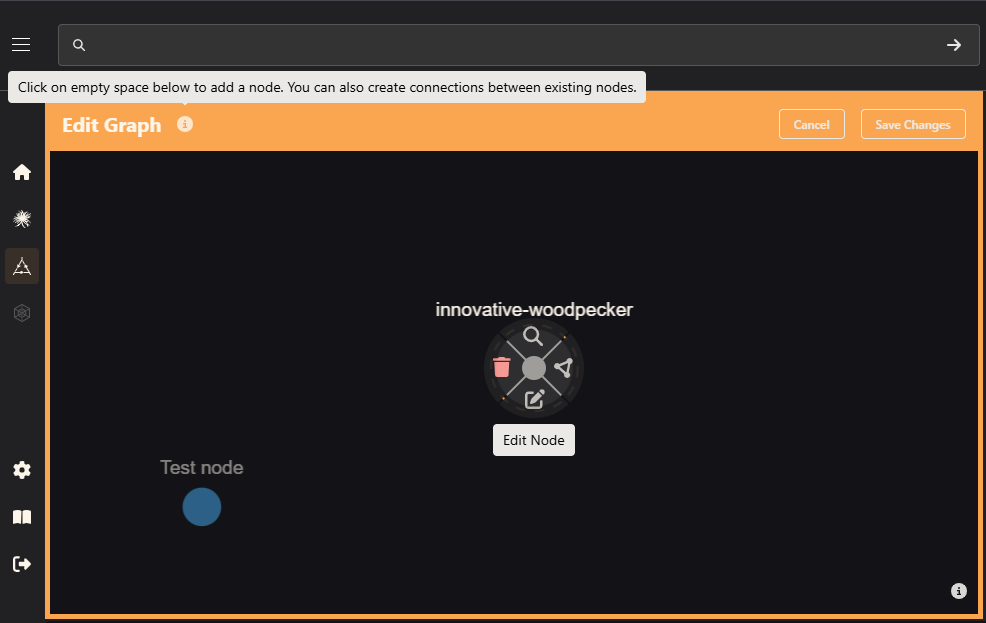
The new node has an autogenerated name, and is in the 'temporary' class. Let's change the name to "Test Observable" and its class to "observable". We click on the node to bring up the radial menu, and then click the "Edit Node" button.
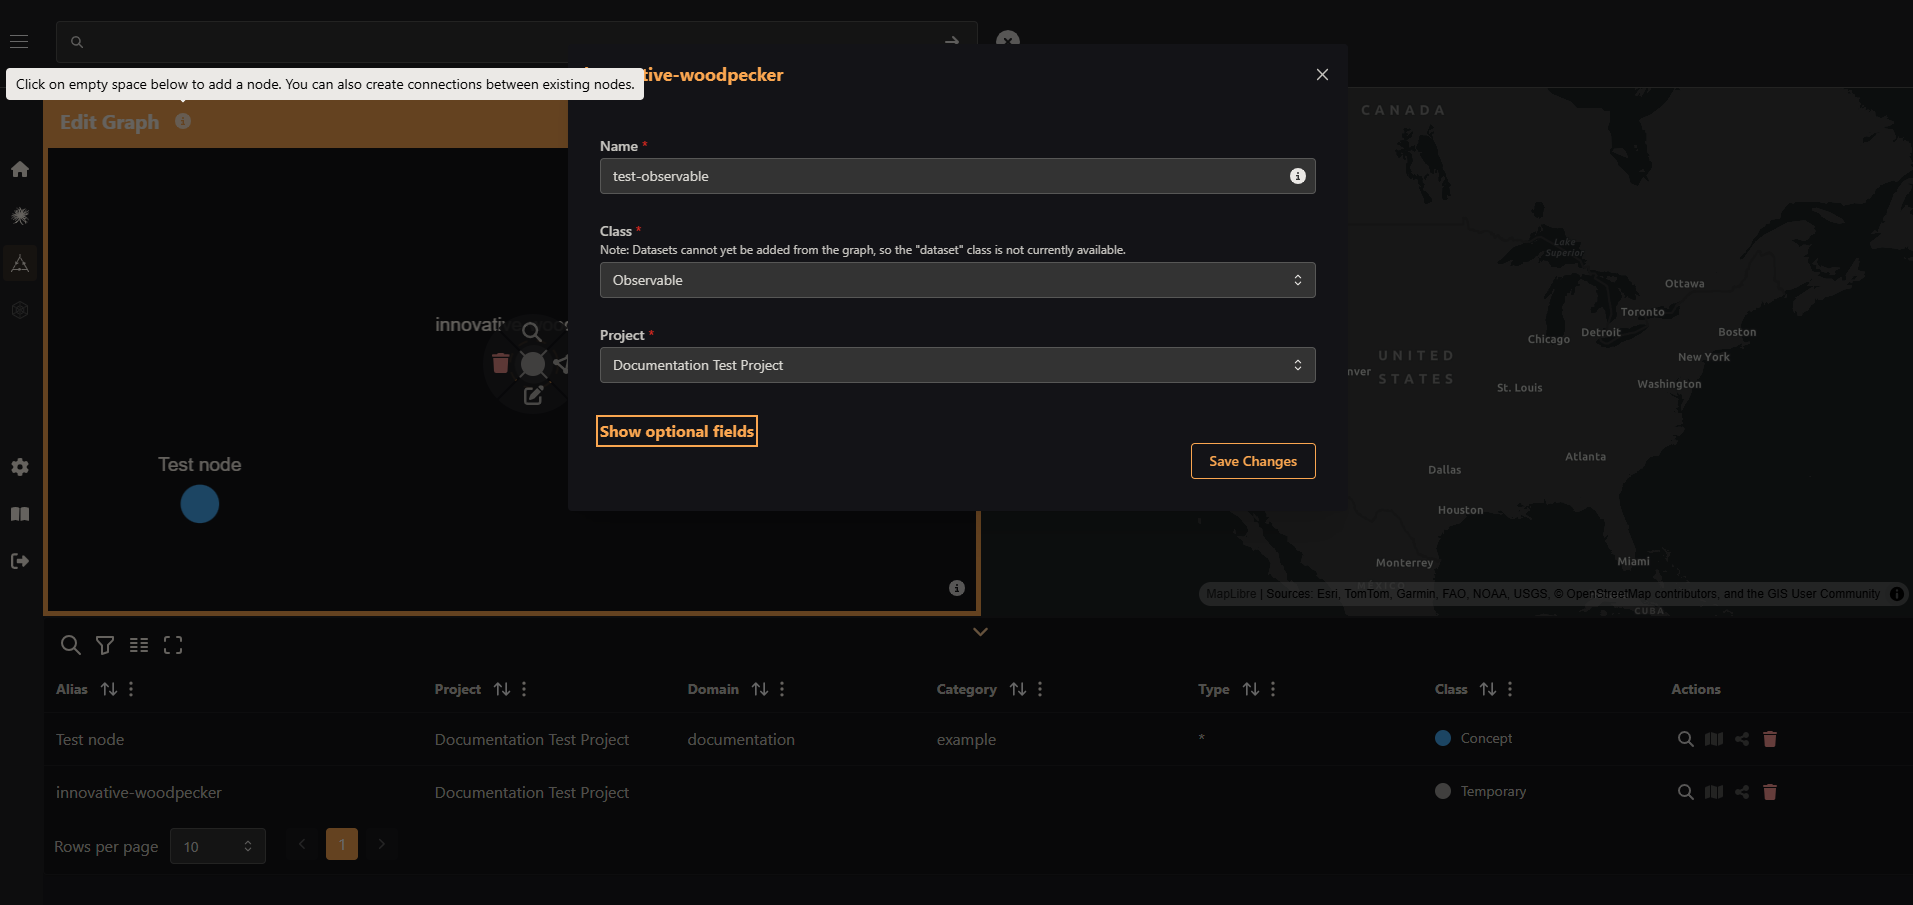
Clicking "Edit Node" will bring up a dialog box. We fill in a new name and choose "Observable" from the "Class" dropdown menu. We can also change the alias, qualifiers, and many other attributes using the "Show optional fields" button. When we are satisfied with our changes, we click "Save Changes".
Now we have our new node! We can either click "Save Changes" to exit the Graph Editor, or we can continue editing the graph. In the next section, we will add a connection between the two nodes.
Adding connections
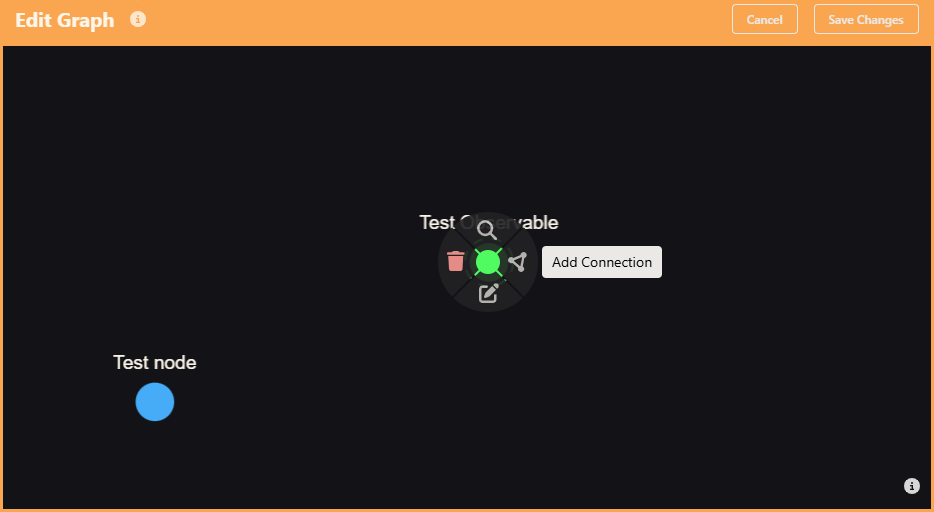
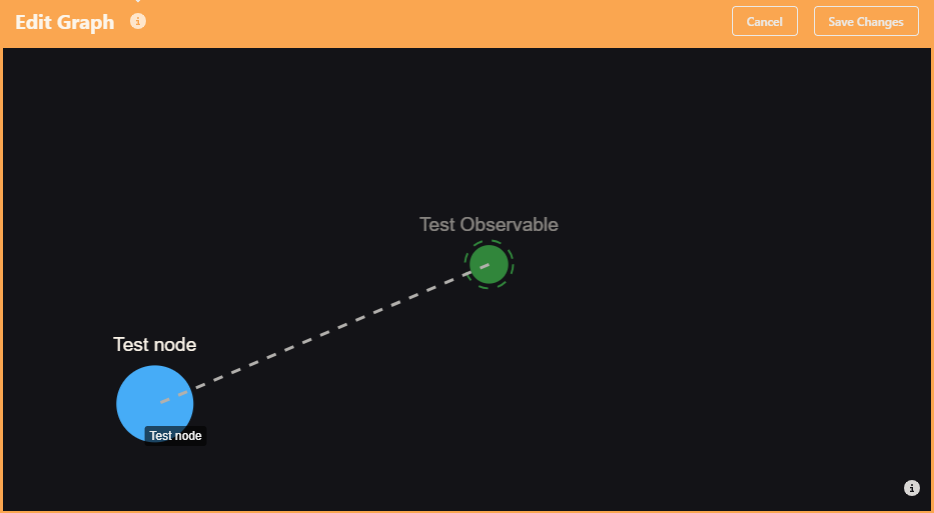
To add a connection, simply click on one of the nodes to bring up the radial menu, and choose "Add Connection". Then click the node to which you want to connect.
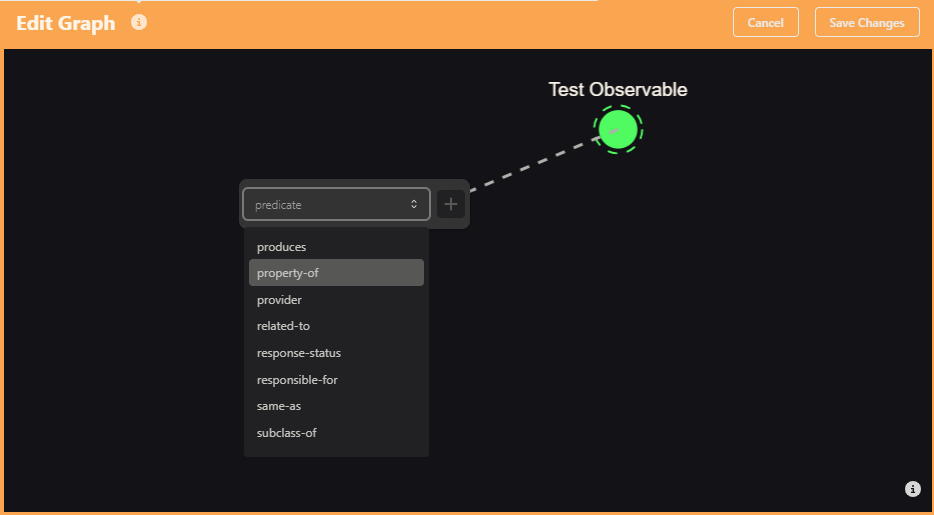
This will bring up a dropdown menu of predicates to describe the relationship between the nodes. Because our "Test Observable" is some observed property of the "Test Node", we choose "property-of", as in "The Test Observable is a property of the concept, Test Node."
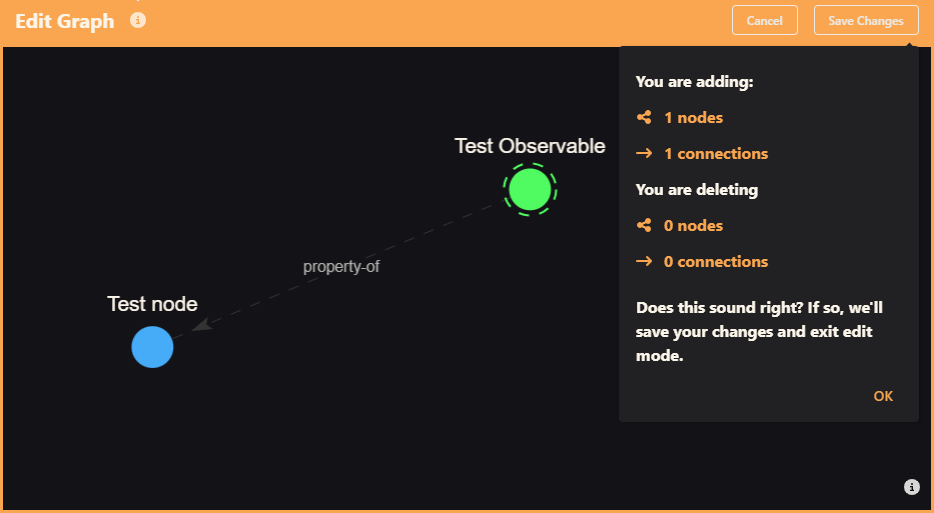
Lastly, we save our graph edits, confirm that we want to save our changes, and we're done!
For more detail on editing graphs, see the tutorial.
Editing Graphs Tutorial
Learn in more detail about adding/removing nodes and connections, and otherwise editing your knowledge graphs.